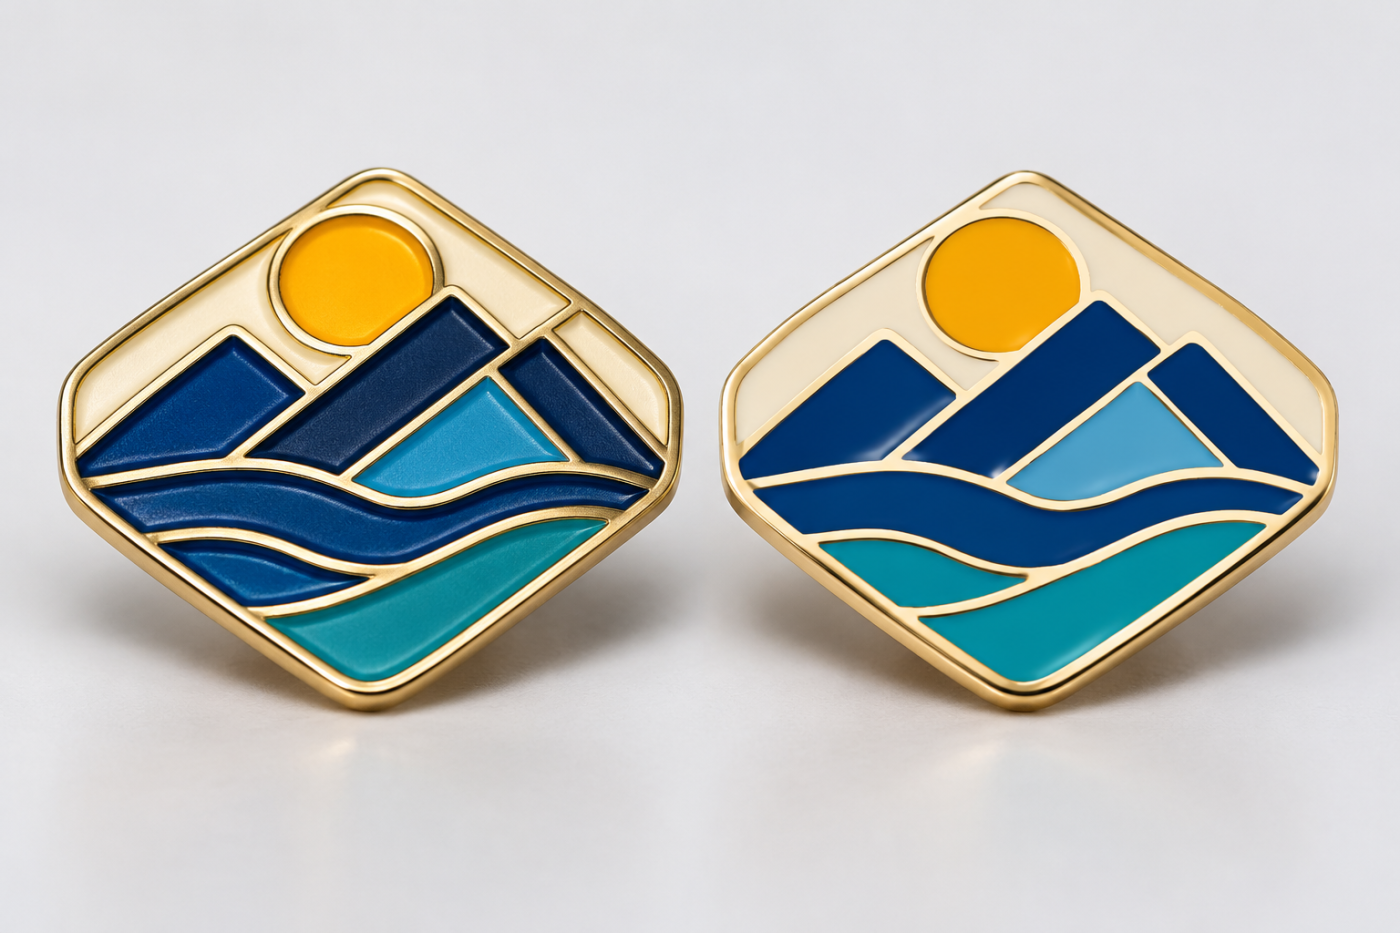
When comparing soft enamel vs hard enamel pins, begin with the surface you want buyers to see and feel. Choose the soft enamel direction when recessed color fields and distinct metal borders are intentional design features. Choose imitation hard enamel when the brief calls for a smoother face, with colored and metal areas brought closer to one level. The right option depends on the artwork, size, relief, and approval criteria—not a blanket quality ranking. Buyers planning Custom Lapel Pins and Badges should define this visual intent before requesting comparable quotations.
In this article, “hard enamel” refers to the common purchasing comparison with imitation hard enamel. It does not mean traditional vitreous hard enamel. No universal durability or cost advantage should be assumed from the finish name alone.
Soft Enamel vs Hard Enamel Pins: Start With the Surface and Artwork Decision
The fastest decision rule is visual. A recessed direction emphasizes the separation between colored fields and surrounding metal. A smoother imitation hard enamel face reduces that visible level difference. Imitation hard enamel still needs controlled color areas and metal borders; it does not remove the need to organize the artwork into workable sections.
Gairun evaluates a pin or badge route against its artwork, intended surface, shape, relief, text, color layout, and attachment. Enamel pins, die-struck badges, zinc-alloy die-cast pins, photo-etched designs, and printed metal badges are distinct routes rather than interchangeable labels.
| Observable artwork or finish input | Initial finish direction | Visible reason | Variable that can change the recommendation |
|---|---|---|---|
| Fine recessed details with narrow, separated color fields | Soft enamel | Recessed color areas can support deliberate visual separation and a tactile relief effect. | Actual line widths, color boundaries, text size, and final pin dimensions |
| Broad raised metal areas intended to remain visually prominent | Soft enamel as a starting point | The contrast between exposed metal and recessed color can become part of the design. | Plating direction, relief hierarchy, and desired surface smoothness |
| Formal recognition artwork requiring a smoother face | Imitation hard enamel | Color and metal areas are brought closer to one level for a more unified presentation. | Border structure, small details, exposed-metal width, and approved proof |
| Irregular body, openings, thick-looking form, or dimensional relief | Evaluate another construction route | The body geometry may matter more than the enamel surface choice. | Thickness, rear attachment area, relief, and decoration plan |
This table provides an initial direction, not final production approval. Choosing a finish does not independently settle the base metal, attachment, plating, packaging, or artwork feasibility. Those decisions must remain connected to the complete construction.
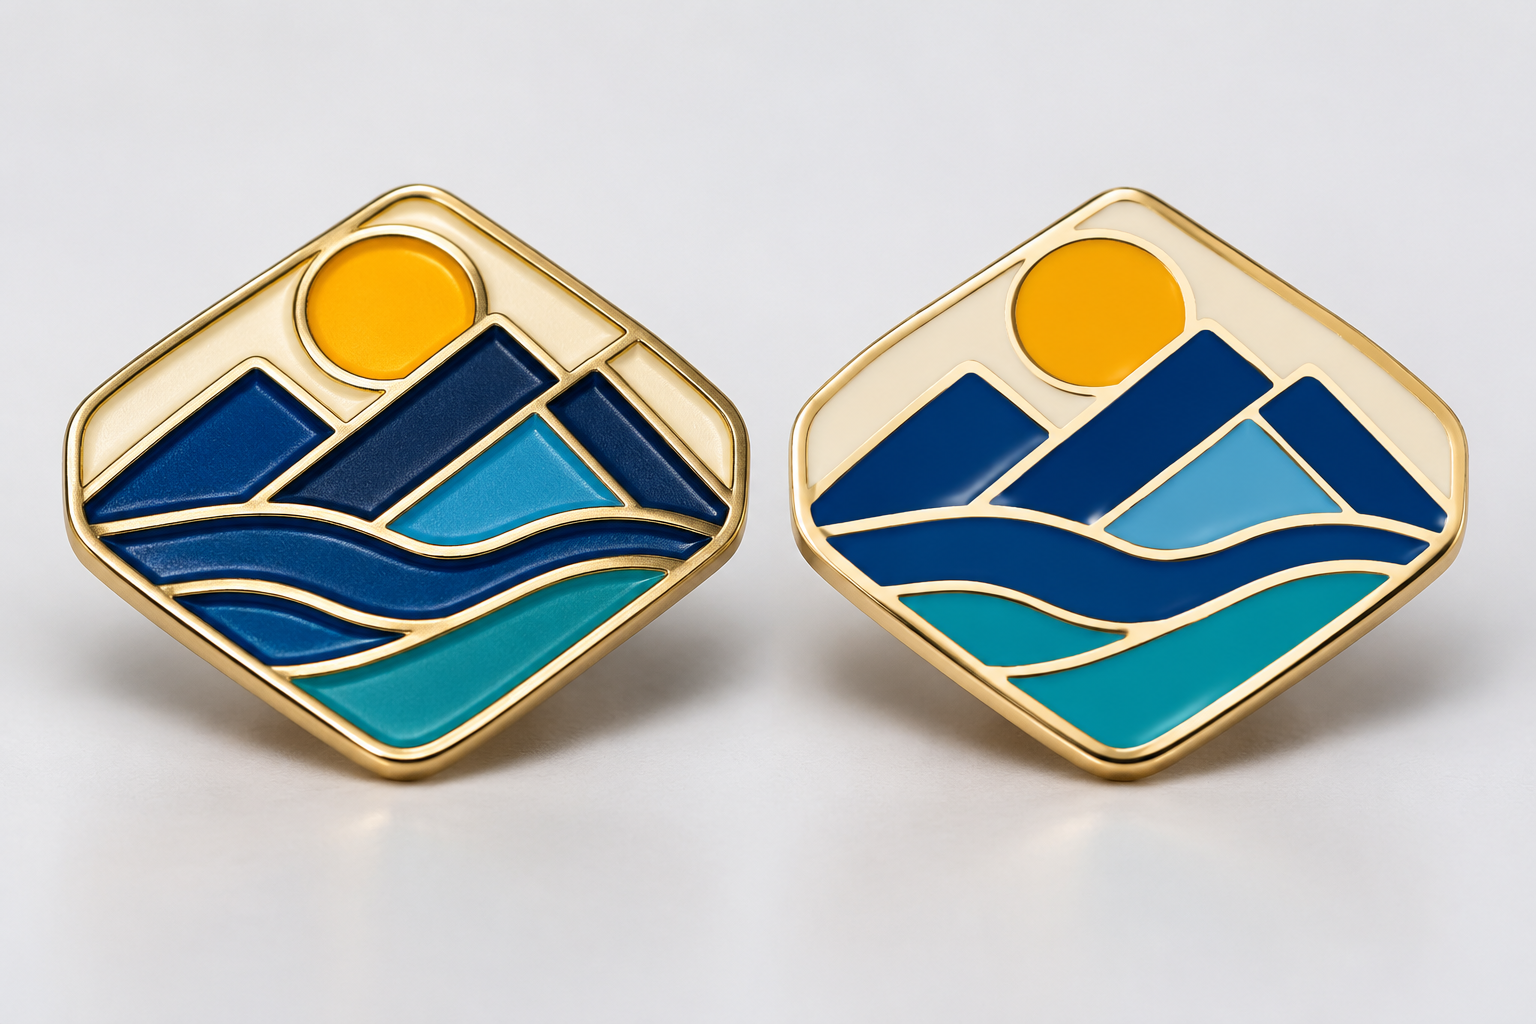
How Recessed and Smoother Faces Change the Finished Look
Think of the pin face as a cross-section. In the recessed direction, colored areas and metal borders appear more clearly separated by level. With imitation hard enamel, those areas sit closer to one level, producing a smoother overall face. Buyers should assess that difference at the intended product size and normal viewing distance, not only on a magnified screen.
Exposed-metal width also changes the result. Wide borders can create strong metallic framing, while narrow borders may make color fields appear more continuous. Plating direction, shine, relief, and color placement influence perceived contrast. Gairun lists gold, silver, nickel, black nickel, antique bronze, and antique silver as plating directions, but the final tone and feasibility must be coordinated with the base metal, artwork, relief, and exposed areas.
For artwork containing fine recessed marks and several narrow, separated color fields, soft enamel is a sensible starting point when visible separation and tactile relief are priorities. That direction can change if the lines, color boundaries, or chosen size cannot be approved for production.
For a formal badge with broad metal areas and a brief calling for a smoother presentation, imitation hard enamel is the stronger starting point. The final decision still depends on the relief hierarchy, plating direction, controlled color cells, and proof result.
Matte or sandblasted contrast can be considered where the artwork, base metal, forming route, and treated-area width support it. Exact texture or gloss requires an approved sample or specification. Neither enamel choice should be described as automatically more premium, durable, or scratch-resistant without relevant test evidence.
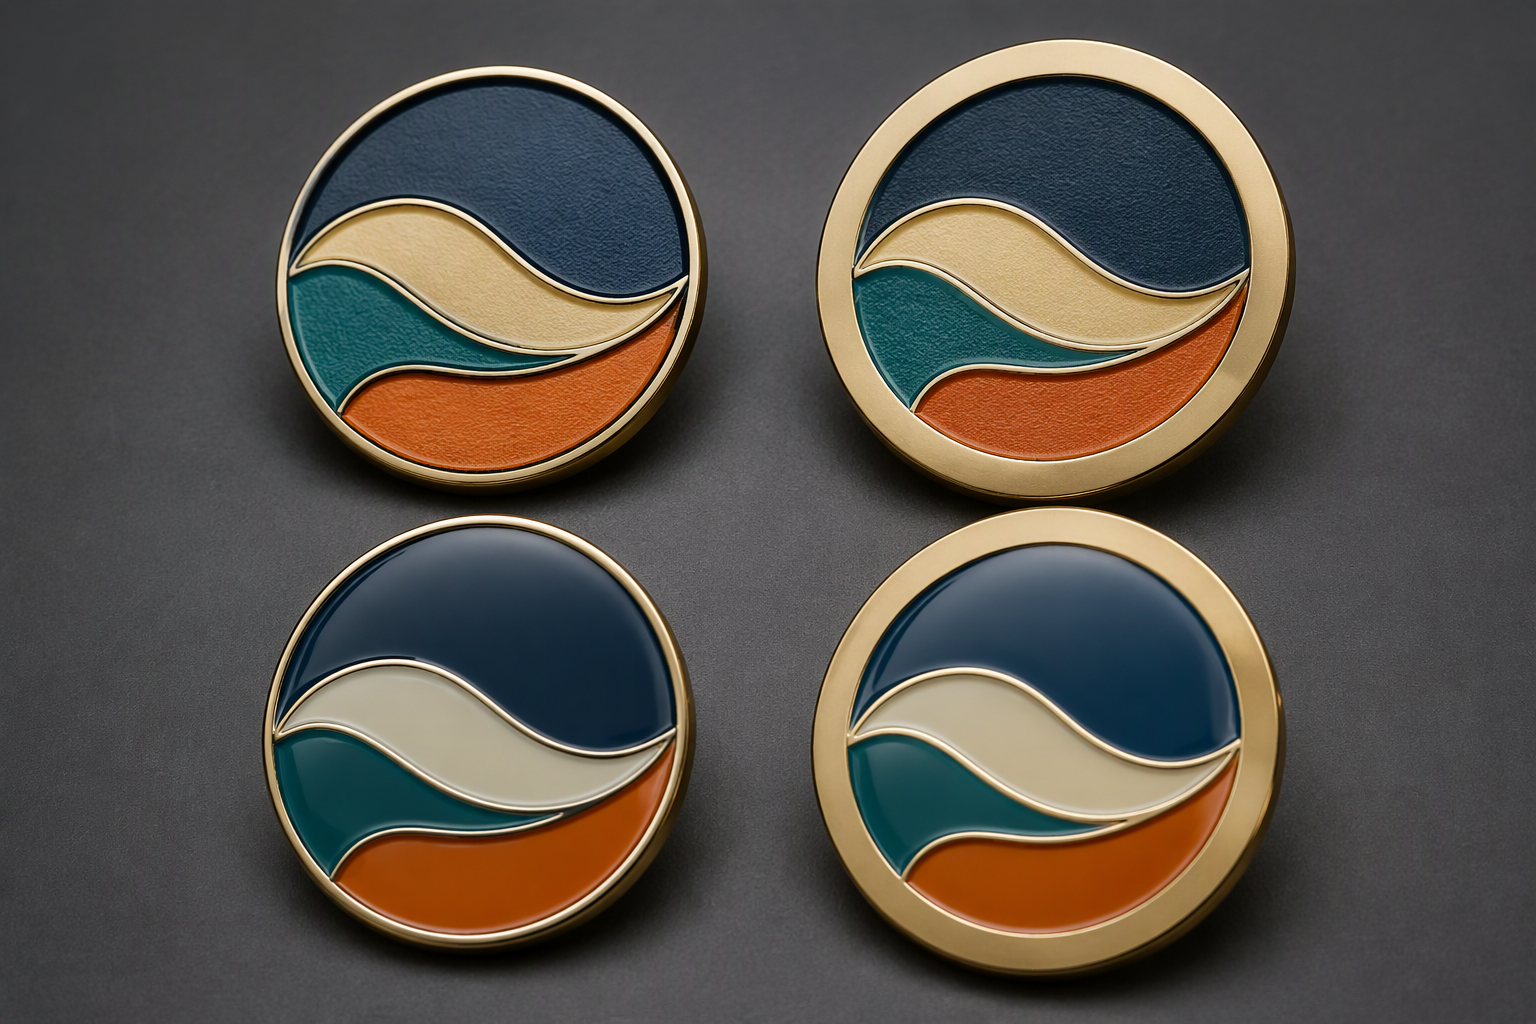
Match Detail, Borders, and Shape to the Chosen Finish
A production-ready brief should separate color cells, metal borders, text, relief levels, outer contour, and attachment position. This makes it possible to determine whether the desired face profile and the artwork structure support each other. Submit the design at actual finished size as well as in an editable source format.
Small text, closely spaced color boundaries, gradients, and very fine marks can require a different decoration strategy. Screen printing can be considered when defined graphic details should remain printed rather than divided into enamel cells. UV printing can also be evaluated for printed detail or multiple tones. Resolution, color behavior, gradients, abrasion requirements, and fine marks still need assessment for the actual specification. It is better to evaluate an alternative than force every graphic element into either enamel finish.
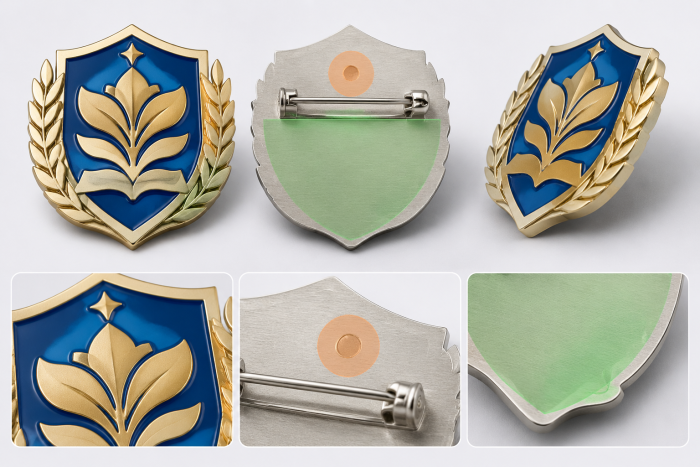
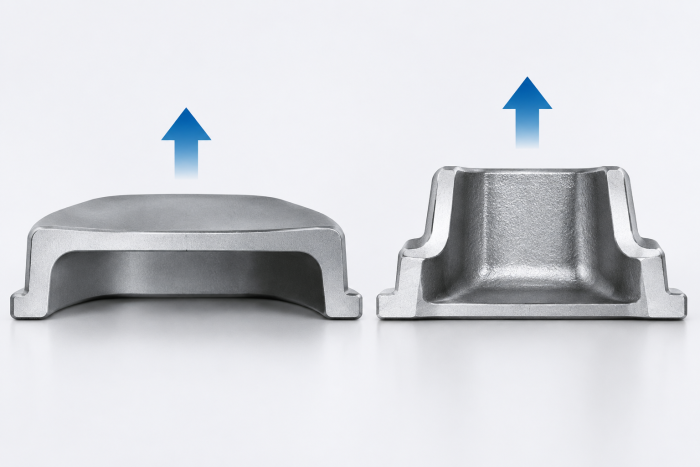
Shape can also redirect the construction. A pin with a formed outline, irregular body, opening, or more dimensional relief may warrant evaluation as a zinc-alloy die-cast pin. Before tooling, define the geometry, thickness, rear attachment area, and decoration plan. Small features cannot be assumed to transfer unchanged.
As contextual planning guidance, a corporate-logo lapel badge may use a brass body at 18–30 mm with a 1.2–2 mm base thickness and either soft enamel or imitation hard enamel. The buyer should confirm the logo source file, size, thickness, attachment, color references, and packaging. These figures apply to that corporate-logo badge scenario; they are not universal pin limits or guaranteed specifications.
Gairun’s pre-tooling engineering assessment may cover dimensions, thickness, relief, metal borders, color areas, attachments, component positions, and the proposed production method. The applicable checks depend on the artwork and structure. Without validated process-specific evidence, buyers should not rely on generic minimum line widths or text sizes. Actual-size artwork is the appropriate basis for determining whether simplification, enlargement, printing, or another route is needed.
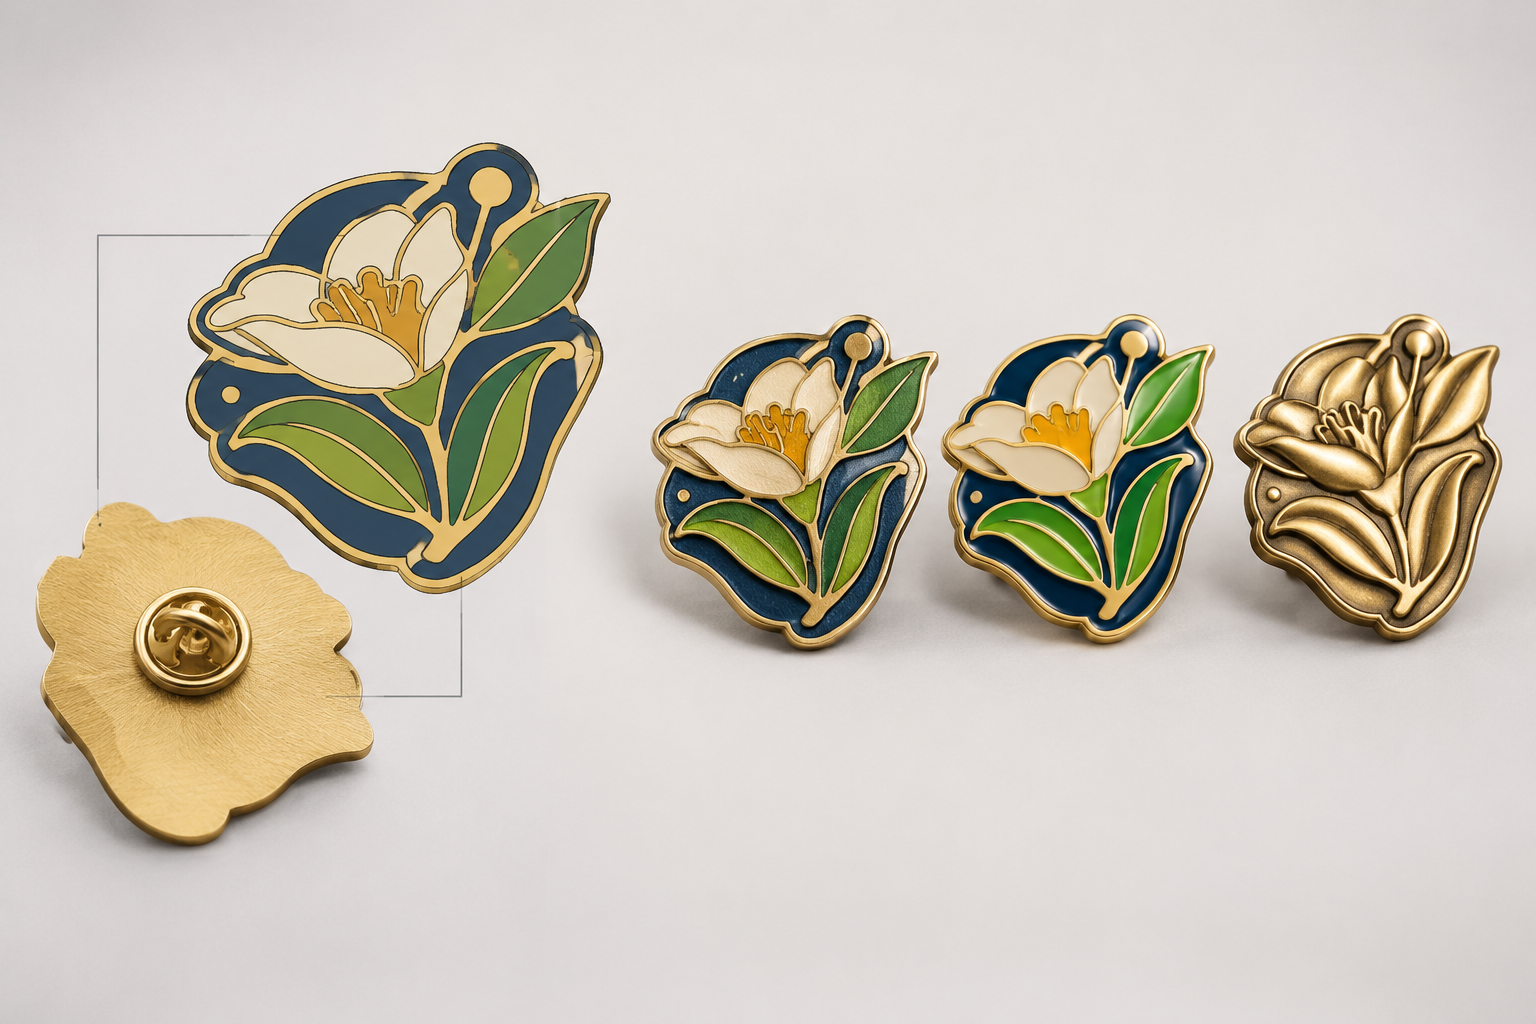
Compare Enamel Pin Costs Without Assuming a Fixed Price Winner
An enamel pin cost comparison is useful only when quotations describe the same product. Keep the artwork version, dimensions, quantity, base-metal route, color treatment, plating direction, attachment, packaging, destination, and required schedule consistent. Otherwise, a price difference may reflect a changed construction rather than the enamel finish.
Do not assume soft enamel or imitation hard enamel is always the lower-cost option. Shape, relief, design variants, sampling scope, attachments, packaging, and shipping responsibilities can all change the commercial comparison. A quotation that simplifies small text or changes the body route is not directly comparable with one that follows the original design.
A practical RFQ should include:
- Product type and required quantity
- Named artwork version and actual finished dimensions
- Preferred finish direction and visual priority
- Base-metal or forming preference, if already decided
- Color treatment and color references
- Exposed-metal and plating direction
- Back attachment and proposed position
- Packaging format, destination, and required schedule
- Design variants and any unresolved technical questions
Under an OEM model, production follows the buyer’s design or specification, but engineering assessment and buyer approval are still necessary. Ask the supplier to identify any proposed artwork simplification, material change, or process substitution before comparing totals. This keeps the commercial decision tied to the same visible and structural outcome.
Approve the Finish at Actual Size Before Bulk Production
A controlled approval sequence helps prevent a digital concept, quotation, and physical pin from describing different outcomes:
- Approve the artwork version and intended surface profile.
- Assess the proposed production method, base metal, relief, borders, and attachment.
- Decide whether the design requires a custom sample.
- Inspect the finish at actual product size.
- Approve the final production specification as a distinct control point.
During sample or proof inspection, compare color placement, overflow or insufficient-color areas, exposed-metal borders, surface appearance, small text, edge shape, and attachment position with the approved artwork. Packaging presentation should also be checked when it affects orientation or retail display. Gairun describes checks for color overflow and insufficient-color areas, with the approved artwork and proof defining intended placement. This is a process description rather than a defect-free guarantee.
A stock sample can demonstrate general workmanship, finish directions, construction, or packaging, but it is not proof of the buyer’s design. Availability and delivery cost must be confirmed. Gairun states that custom sampling normally takes 7–10 working days, but timing must be confirmed for the actual design and considered with artwork approval, tooling, shipment, and complexity.
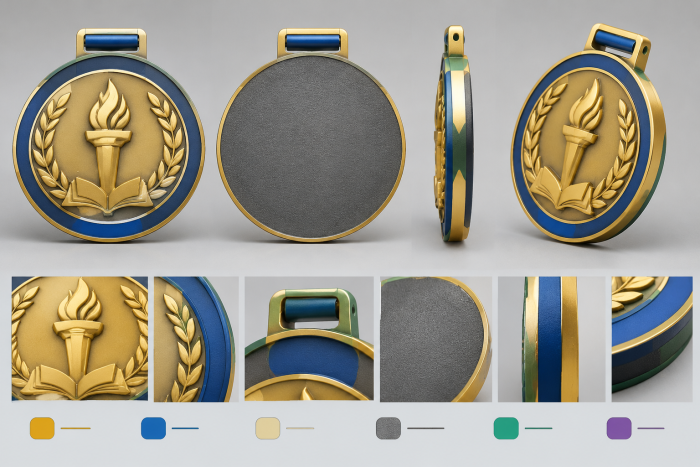
For contextual fashion or brand-pin planning, an irregular zinc-alloy design at 20–50 mm may use soft enamel or imitation hard enamel among its possible routes. Confirm authorization, size, thickness, pin position, special effects, and packaging. A design above about 35–40 mm, or one with an offset center of gravity, may benefit from two pins to reduce rotation. This attachment suggestion is conditional guidance for that scenario, not a universal engineering rule. Special effects and multilayer structures need separate assessment.
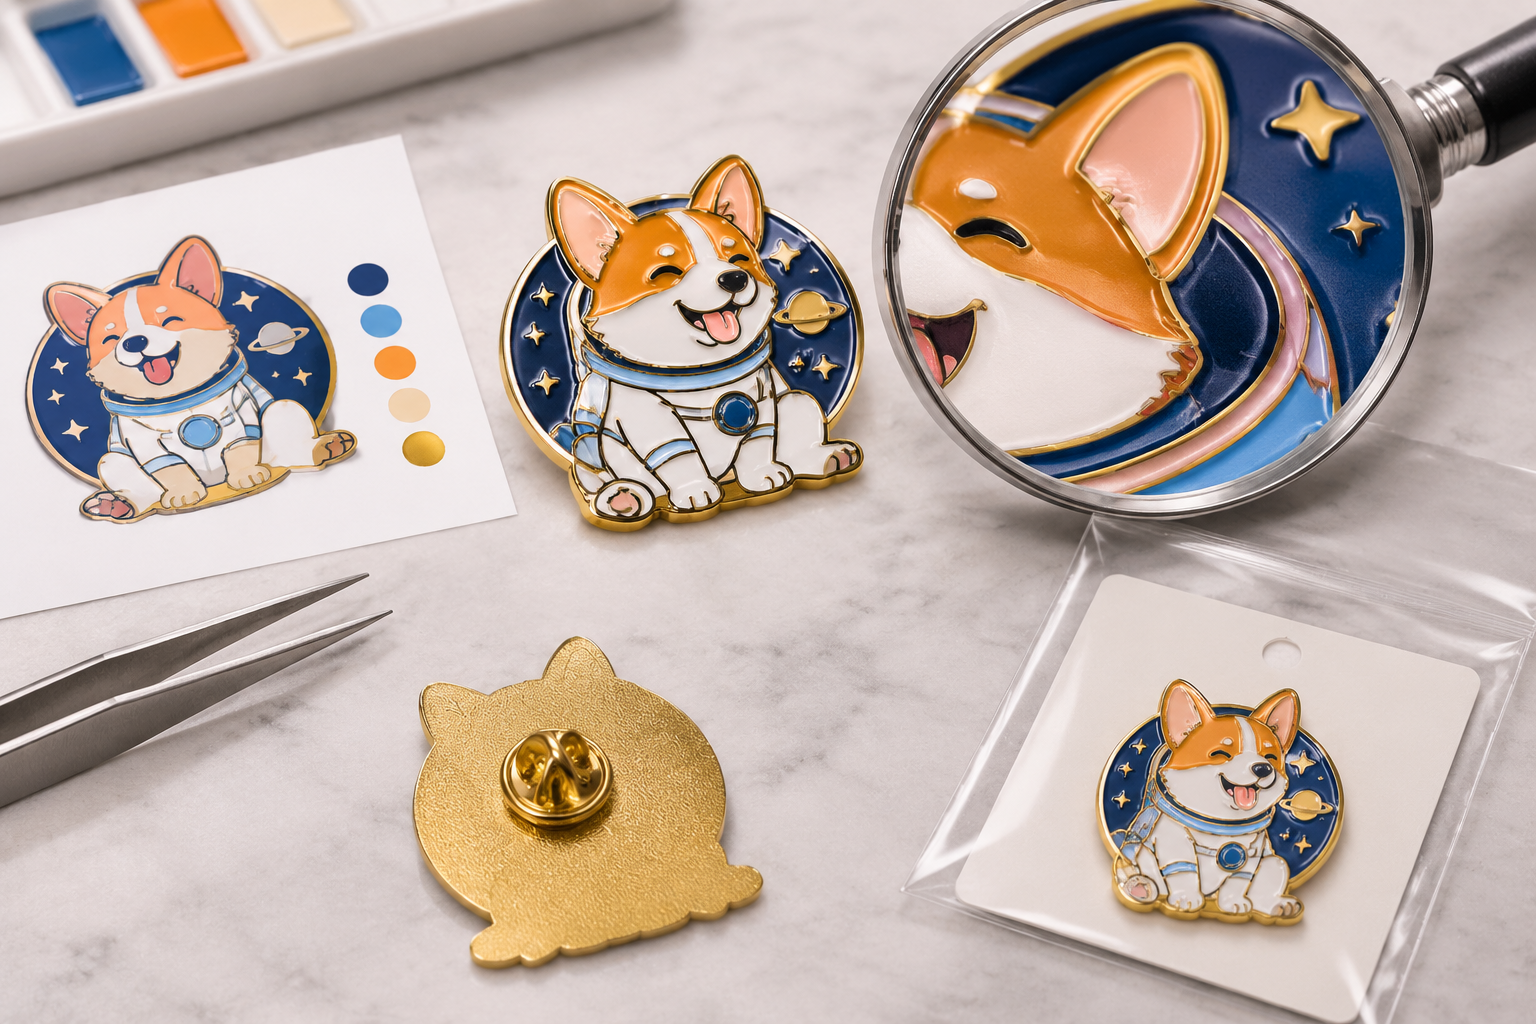
Choose the Finish, Then Lock the Comparable Specification
Choose soft enamel when deliberate recessed separation between color and metal defines the design. Choose imitation hard enamel when a smoother, closer-to-level face is the priority and the artwork provides controlled color areas and workable metal borders.
Next, submit actual-size artwork and a like-for-like RFQ. Mark unresolved questions about finish, attachment, plating, proof, or construction for assessment. Gairun can evaluate dimensions, thickness, relief, borders, color areas, attachments, component positions, and the proposed production method according to the design. The final choice should be recorded as part of the complete custom enamel pin specification, not as an isolated finish label.
Frequently Asked Questions
Is imitation hard enamel the same as traditional vitreous hard enamel?
No. This comparison uses imitation hard enamel as the smoother-face option commonly called hard enamel in pin purchasing. It should not be described as traditional vitreous hard enamel. Confirm the exact material and process terminology in the quotation.
Which finish is better for a logo with fine lines and small text?
There is no universal answer. Start with soft enamel if visible recessed separation is important, but submit actual-size artwork for assessment. Very fine lines, small text, gradients, or crowded boundaries may need simplification, enlargement, screen printing, UV printing, or another construction route.
Can soft enamel and imitation hard enamel use the same metal plating direction?
They may be evaluated with the same general plating directions, including gold, silver, nickel, black nickel, antique bronze, or antique silver. Final feasibility and appearance depend on the base metal, relief, exposed-metal areas, artwork, and approved specification.
What should be held constant in an enamel pin cost comparison?
Keep the artwork, dimensions, quantity, base-metal route, color treatment, plating direction, attachment, packaging, destination, and required schedule consistent. Also identify whether sampling, shipping, or artwork changes are included so the quoted totals represent comparable scopes.
Should I approve a stock sample or a custom sample for my pin design?
Use a stock sample to examine general workmanship, finishes, construction, or packaging. Use a custom sample when approval must cover your own artwork, dimensions, color placement, borders, attachment position, or special structure. Stock-sample availability and delivery cost require confirmation.
When should an irregular enamel-pin design be reviewed as a zinc-alloy die-cast pin instead?
Consider a zinc-alloy die-cast route when the design requires a formed outline, irregular body, opening, thicker-looking shape, or more dimensional relief. Define geometry, thickness, rear attachment area, and decoration before tooling, because enamel selection alone does not resolve the construction.