
FACTORY-DIRECT OEM / ODM MANUFACTURING
Soft Enamel vs Hard Enamel for Pins, Medals and Badges
Soft enamel leaves colored areas below raised metal lines, creating a recessed surface with visible depth. Imitation hard enamel brings the enamel and metal borders to an even level, creating a smooth face. That surface difference is the main factor when choosing between the two processes.
Gairun is an OEM and ODM metal crafts manufacturer supplying custom pins, medals and badges for event organizers, institutions, corporate buyers, brands and promotional product distributors. We provide both soft enamel and imitation hard enamel coloring for custom metal products. Buyers often shorten imitation hard enamel to ※hard enamel,§ but imitation hard enamel is the precise process name used throughout this guide.
Use the comparison below to identify the surface and visual effect that suit your artwork. You can then review our custom metal products or submit your preferred process for quotation.
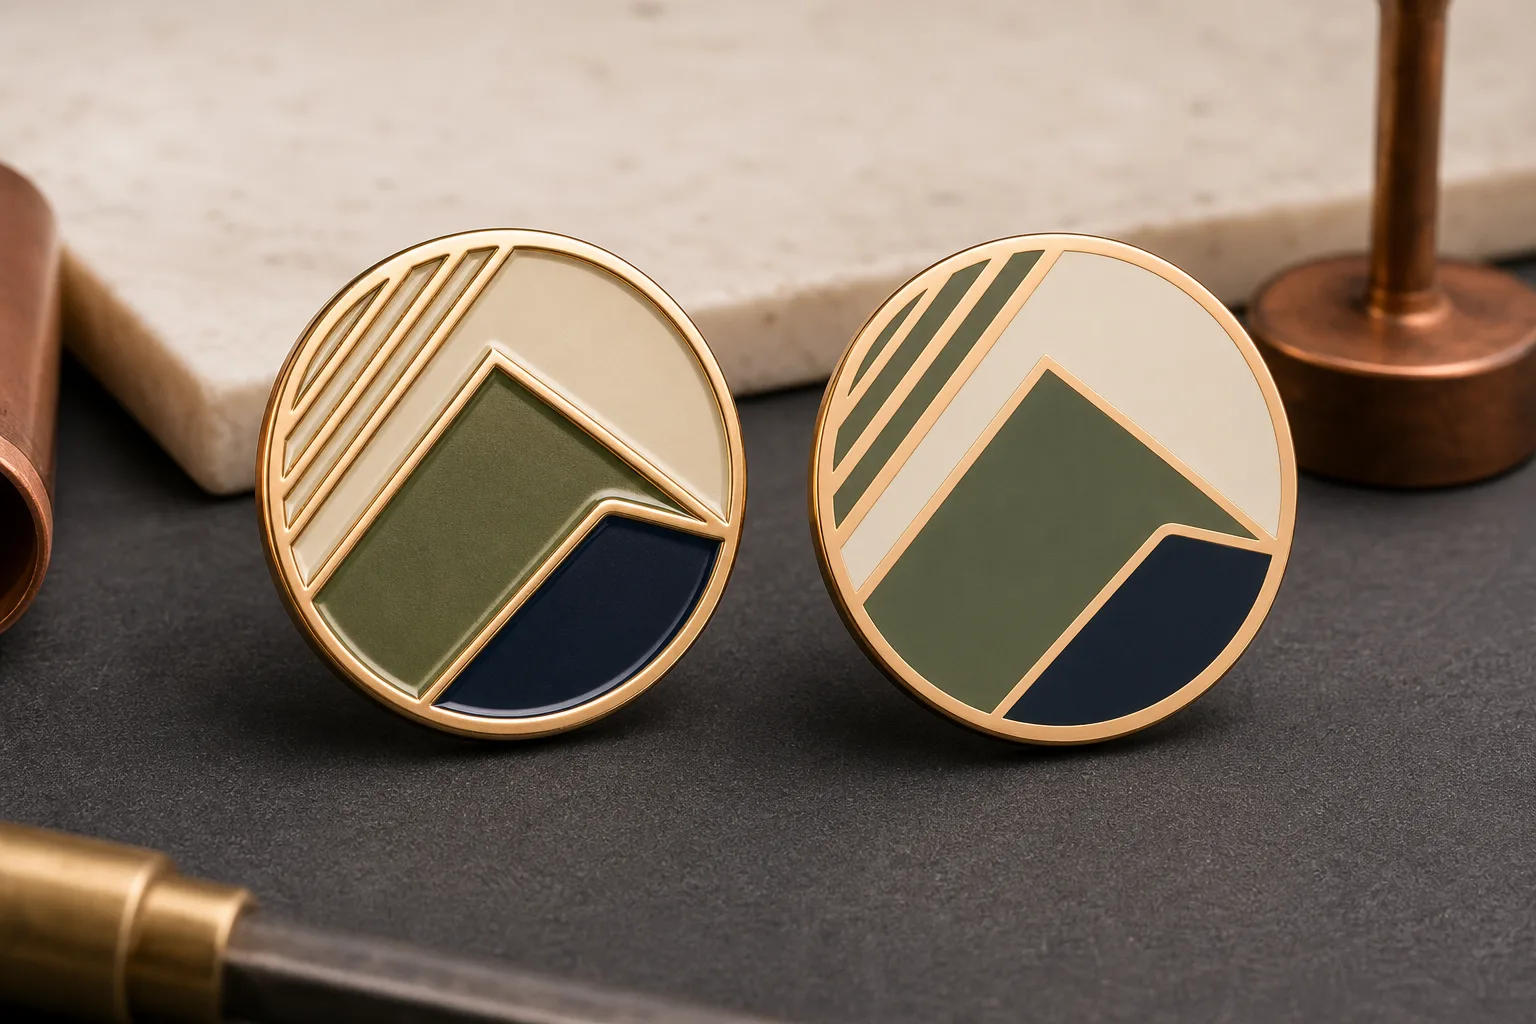
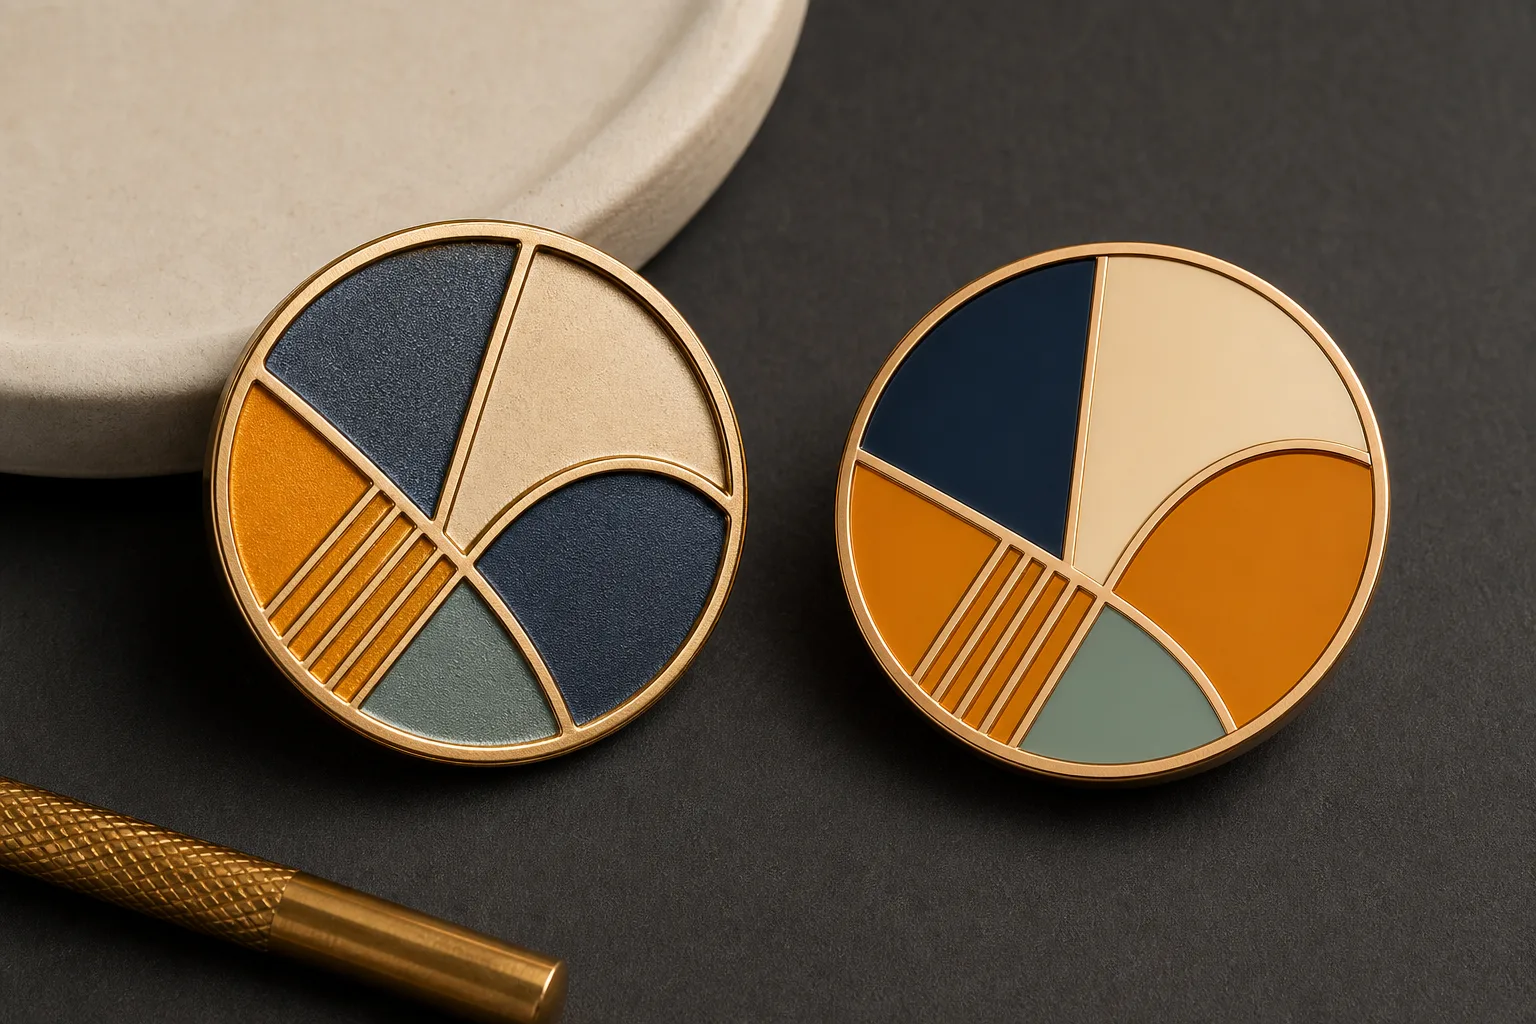
Key Differences Between Soft and Imitation Hard Enamel
The choice is not a simple ranking of one process over the other. Soft enamel emphasizes recessed color, raised metal and tactile depth. Imitation hard enamel emphasizes an even surface and a controlled, smooth appearance. Both methods use metal borders to divide separate enamel color areas.
| Decision factor | Soft enamel | Imitation hard enamel |
|---|---|---|
| Surface level | Color areas sit below the raised metal borders. | Color areas and metal borders form an even face. |
| Touch | The recessed color and raised lines can be felt. | The finished face feels smooth across the color and metal areas. |
| Visible depth | Recesses, edges and shadows make the design structure more pronounced. | The even face gives the design a flatter, more controlled presentation. |
| Role of metal borders | Raised borders are a clear visual and tactile part of the design. | Borders still separate colors but sit level with the enamel face. |
| Color-area treatment | Enamel fills remain visibly recessed within enclosed metal areas. | Enamel areas are finished to align with the surrounding borders. |
| Broad artwork fit | Useful when recessed color fields and exposed metal lines are intended design features. | Useful when the artwork calls for clean color fields across a smooth face. |
This soft enamel vs hard enamel comparison concerns appearance, touch and artwork structure. Price, production time, wear resistance and color capacity depend on project-specific review and are not reliable selection shortcuts.
How Recessed Soft Enamel Changes the Design
With soft enamel, colored areas sit inside recessed sections of the metal design. Raised metal lines surround and divide those sections. Running a finger across the face reveals the change in level between the enamel and the metal borders.
This structure can make outlines, symbols and separated color blocks more noticeable. Light can create small shadows around the raised boundaries, while exposed metal lines remain a visible part of the composition. The result suits artwork in which depth is meant to contribute to the design rather than disappear into a flat surface.
Consider soft enamel when your design depends on:
- Raised metal outlines that define the main shapes.
- Clearly separated color fields enclosed by metal.
- A tactile difference between colored and uncolored areas.
- Visible recesses that add depth to bold graphics.
- Exposed metal as an active part of the visual identity.
For pin construction and product-specific ordering details, see our custom soft enamel pins.
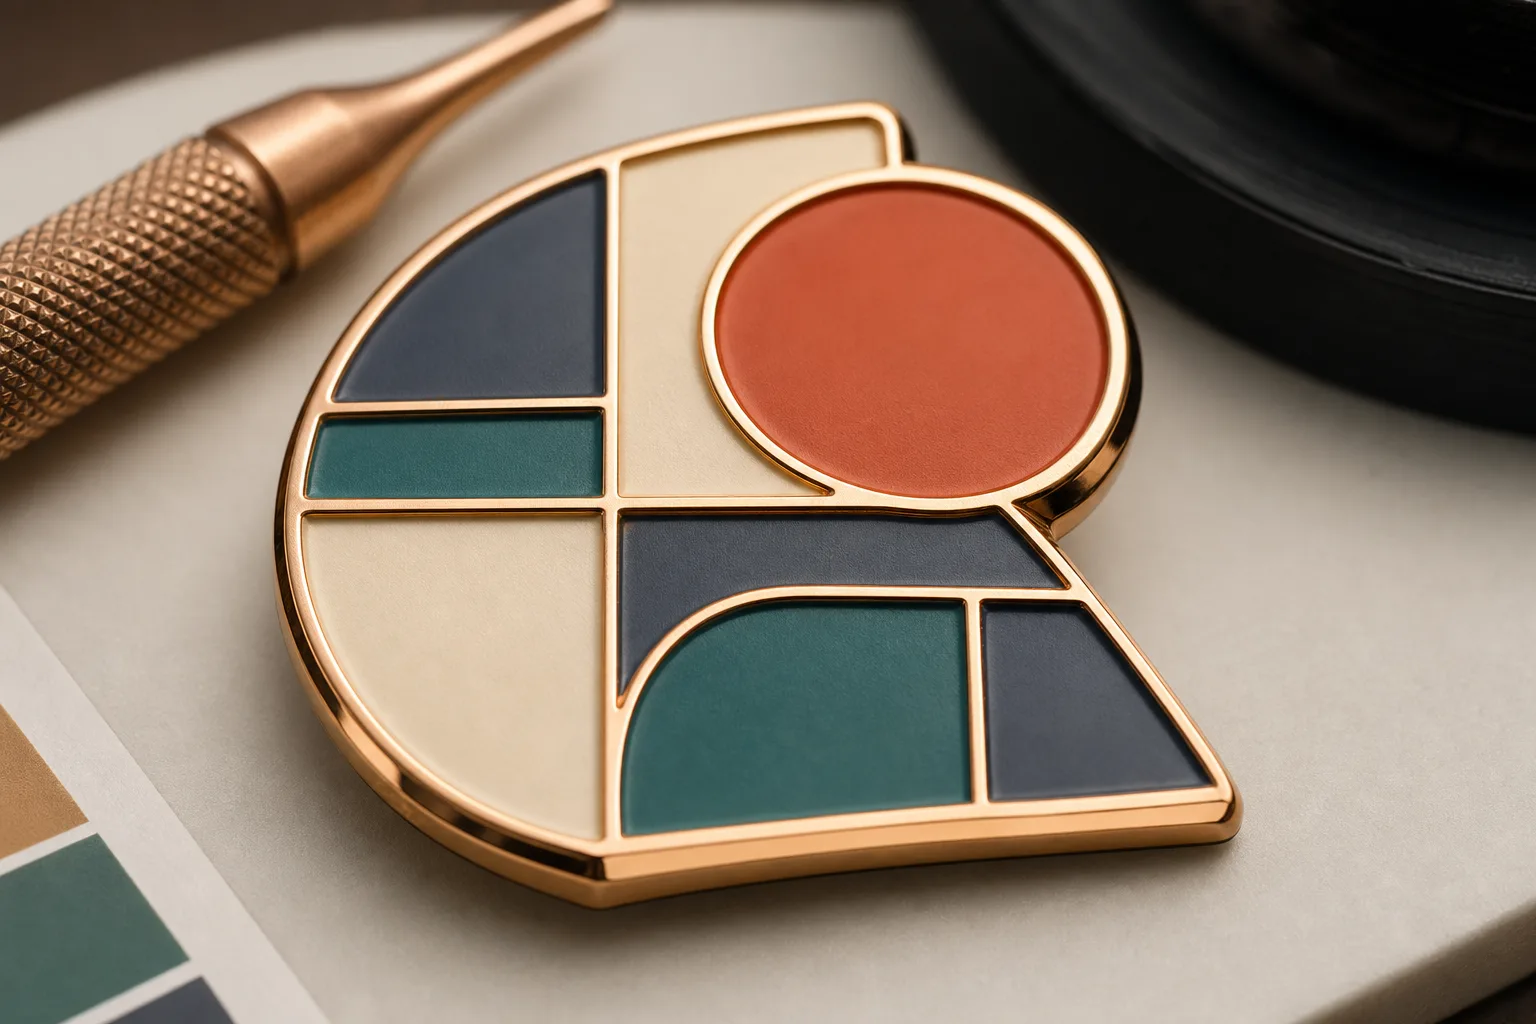
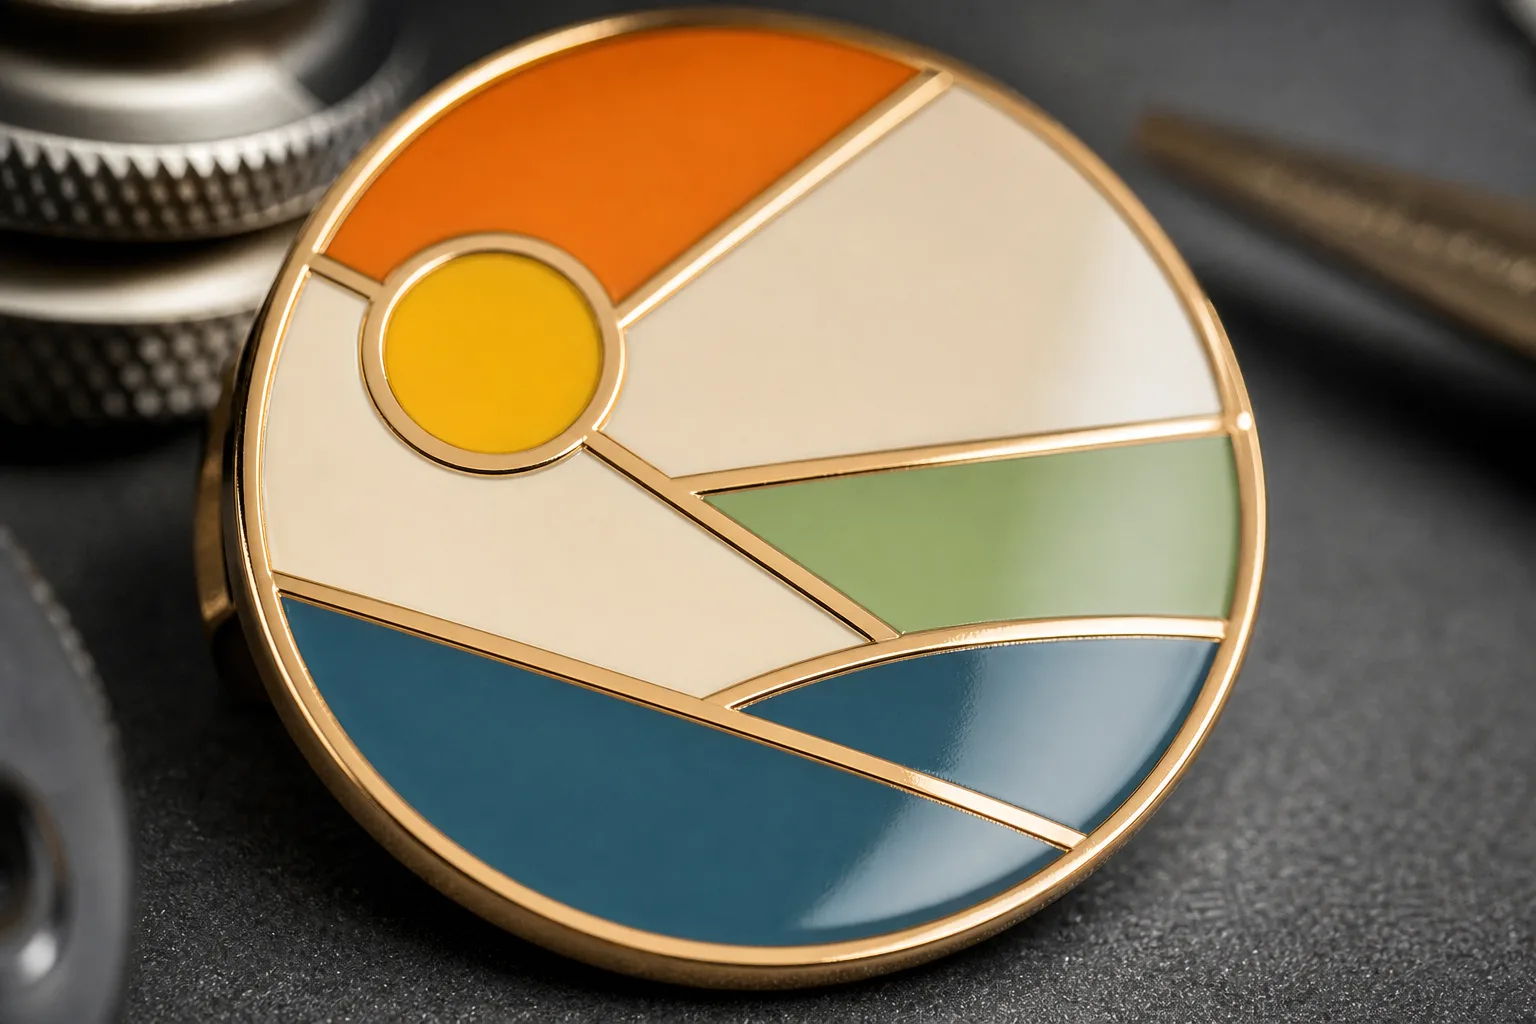
What Creates the Smooth Imitation Hard Enamel Look
Imitation hard enamel presents the colored areas and metal borders as one even surface. The metal lines still define the artwork, but they do not stand above recessed color fields in the way they do with soft enamel.
The smooth face can give logos, emblems and organized color blocks a clean visual rhythm. Instead of using a change in surface level to emphasize the design, it relies more on the shapes, color arrangement and metal boundaries shown in the artwork.
Imitation hard enamel may fit a project when the main goal is:
- A smooth face across enamel and metal sections.
- Controlled color fields with clear boundaries.
- A design that does not rely on tactile recesses.
- An even presentation across logos, lettering and symbols.
- Visible metal separation without a raised-over-color effect.
Buyers sourcing this process commonly ask for ※hard enamel pins.§ Our imitation hard enamel pin page covers the product format and its quotation inputs in more detail.
Why Metal Borders Matter for Both Enamel Methods
Enamel colors are organized as separate filled areas. Metal borders define those areas and help prevent adjacent colors from becoming one undivided shape. This means a design created for print cannot always be transferred directly into an enamel layout without review.
Border placement affects how a logo, letter or small symbol reads. A line can separate two colors, outline a word or preserve the shape of an enclosed detail. It can also become part of the artwork itself, especially when exposed metal is used for contrast.
The difference lies in the final surface. In soft enamel, the borders remain raised above the color. In imitation hard enamel, the borders and enamel present as a smooth face. A border that looks subtle in a flat digital image may therefore have a stronger physical role on a soft enamel product.
Do not reduce important borders or enclosed details based on assumed minimum dimensions. Their feasibility depends on the product format, overall size and artwork. Our engineering team reviews how the proposed color zones and metal lines relate to the chosen process.
Match the Enamel Surface to the Artwork Structure
Start with the visual hierarchy of the artwork. Identify the shapes that must be noticed first, the areas that need separate colors and the places where exposed metal should remain visible. Then decide if those metal boundaries should stand above recessed color or share an even face with it.
Artwork that can favor a recessed treatment
Bold, line-led graphics can use raised metal as a structural feature. Crests, simple symbols, outlined lettering and divided color blocks may gain more physical definition when the enamel remains below the metal. The recessed treatment is also relevant when touch and shadow are intentional parts of the presentation.
Artwork that can favor a smooth treatment
Organized logos and color fields may suit imitation hard enamel when the desired result is a uniform face. The visual separation still comes from metal borders, but the design does not depend on a visible step between the border and the enamel.
Small enclosed areas need engineering review under either process. The same applies to tightly spaced lettering, adjacent colors and narrow metal divisions. Select the preferred surface before artwork review so each color zone and boundary can be interpreted in the right physical form. For broader planning support, visit our buyer resources.
Choosing Enamel for Pins, Medals or Badges
Soft enamel and imitation hard enamel are not limited to one product name. Both are coloring and post-processing options for custom metal products when the artwork uses filled color areas separated by metal.
On a lapel pin, a recessed surface can make raised outlines easy to see and feel, while a smooth surface can support a more even face. On a medal, the same decision may affect how colored event graphics relate to surrounding metal elements. On a badge, it can determine if the design feels tactile or controlled and level.
Choose by presentation goal rather than by product category alone:
The product format still affects how the design is engineered. Browse our product families to identify whether the project is a pin, medal, badge or another custom metal item before requesting a recommendation.
For a tactile, line-led design
Review soft enamel and decide where raised metal should remain prominent.
For an even colored face
Review imitation hard enamel and define the required metal divisions.
For artwork with mixed visual needs
Mark the important color fields, metal areas and detailed graphics for process review.
When Printed Detail or Clear Epoxy Needs Review
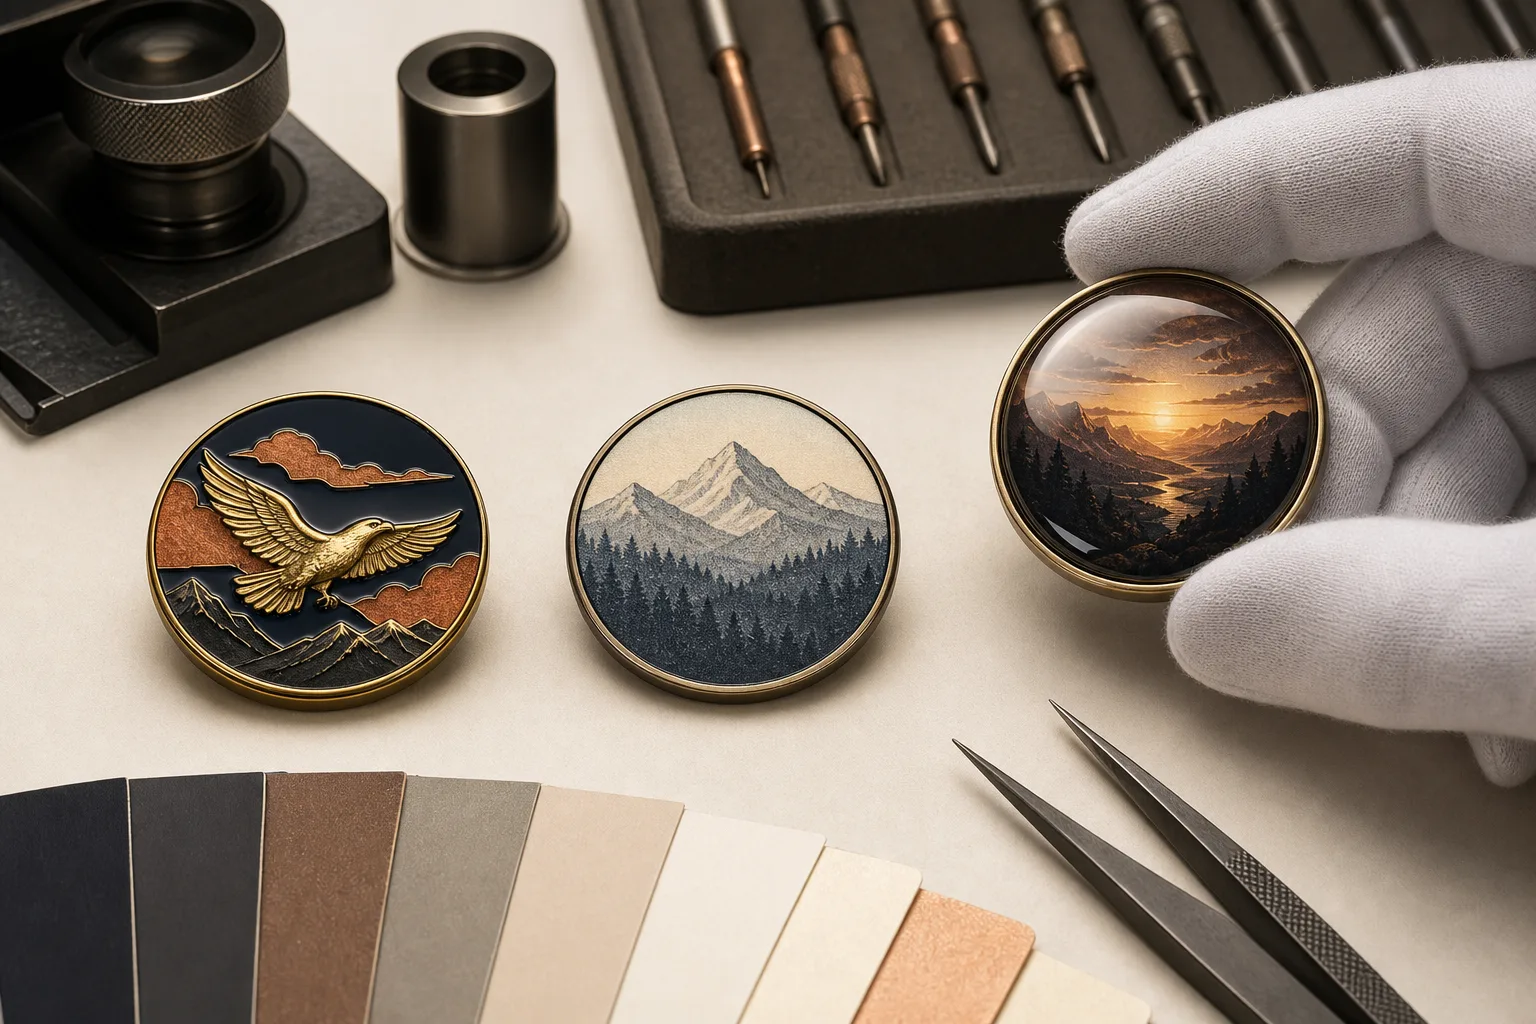
Enamel works best when artwork can be organized into separated color-fill areas. Some graphics depend instead on printed detail. Gairun also provides screen printing, UV printing and clear epoxy coating, so artwork that does not fit an enamel structure can be reviewed through another decoration route.
Printing may need separate consideration when a design includes detail that is not naturally represented as enclosed enamel fields. The review should focus on how the graphic is built, where metal remains visible and whether the intended image depends on printed rather than filled elements.
Clear epoxy coating is a supporting surface option rather than another type of enamel. It changes how the decorated face is presented and should be assessed in relation to the underlying decoration. It should not be assumed to turn soft enamel into imitation hard enamel because the two enamel processes have different surface structures.
If enamel, print and epoxy are all under consideration, define the visual result first. Our broader pin and badge range includes enamel and printed formats, allowing the decoration method to be matched to the artwork rather than selected by name alone.
Prepare Your Enamel Choice for Artwork Review
A clear surface preference gives the engineering team a useful starting point. Use these questions to prepare the project for review:
Submit the preferred enamel process with the product type, quantity, dimensions and artwork. Gairun can then review the relationship between the color fields, metal boundaries and intended surface before preparing a project-specific quotation.
01
Should the finished color areas feel recessed or smooth?
02
Should raised metal lines be a strong visual and tactile feature?
03
How are the separate color areas arranged?
04
Which logo, text or symbol must remain easiest to read?
05
Does any part of the design depend on printed detail?
06