
FACTORY-DIRECT OEM / ODM MANUFACTURING
Choose Physical Depth, Metal Contrast or Both
The first decision is not which effect looks more premium. It is which effect makes the design easier to understand. High relief changes the shape of the metal. Dual plating changes the metal tone across selected areas. These methods solve different design problems.
| Design option | Primary visual effect | Useful for | Main artwork decision |
|---|---|---|---|
| High relief | Sculpted depth, highlights and shadows | Portraits, symbols, architectural forms and layered subjects | Which elements sit highest and how levels transition |
| Dual plating | Contrast between two metal tones | Frames, central marks, borders and foreground-background separation | Where each plated finish begins and ends |
| Combined construction | Depth supported by two-tone separation | Designs with a clear focal subject and controlled supporting detail | How relief breaks and plating boundaries work together |
High relief remains visible as the viewing angle changes because the surface itself is shaped. Dual plating is most effective when the finish boundary follows a clear part of the design. If the project needs a broader comparison of coin materials, color methods and edge treatments, review our custom challenge coins.
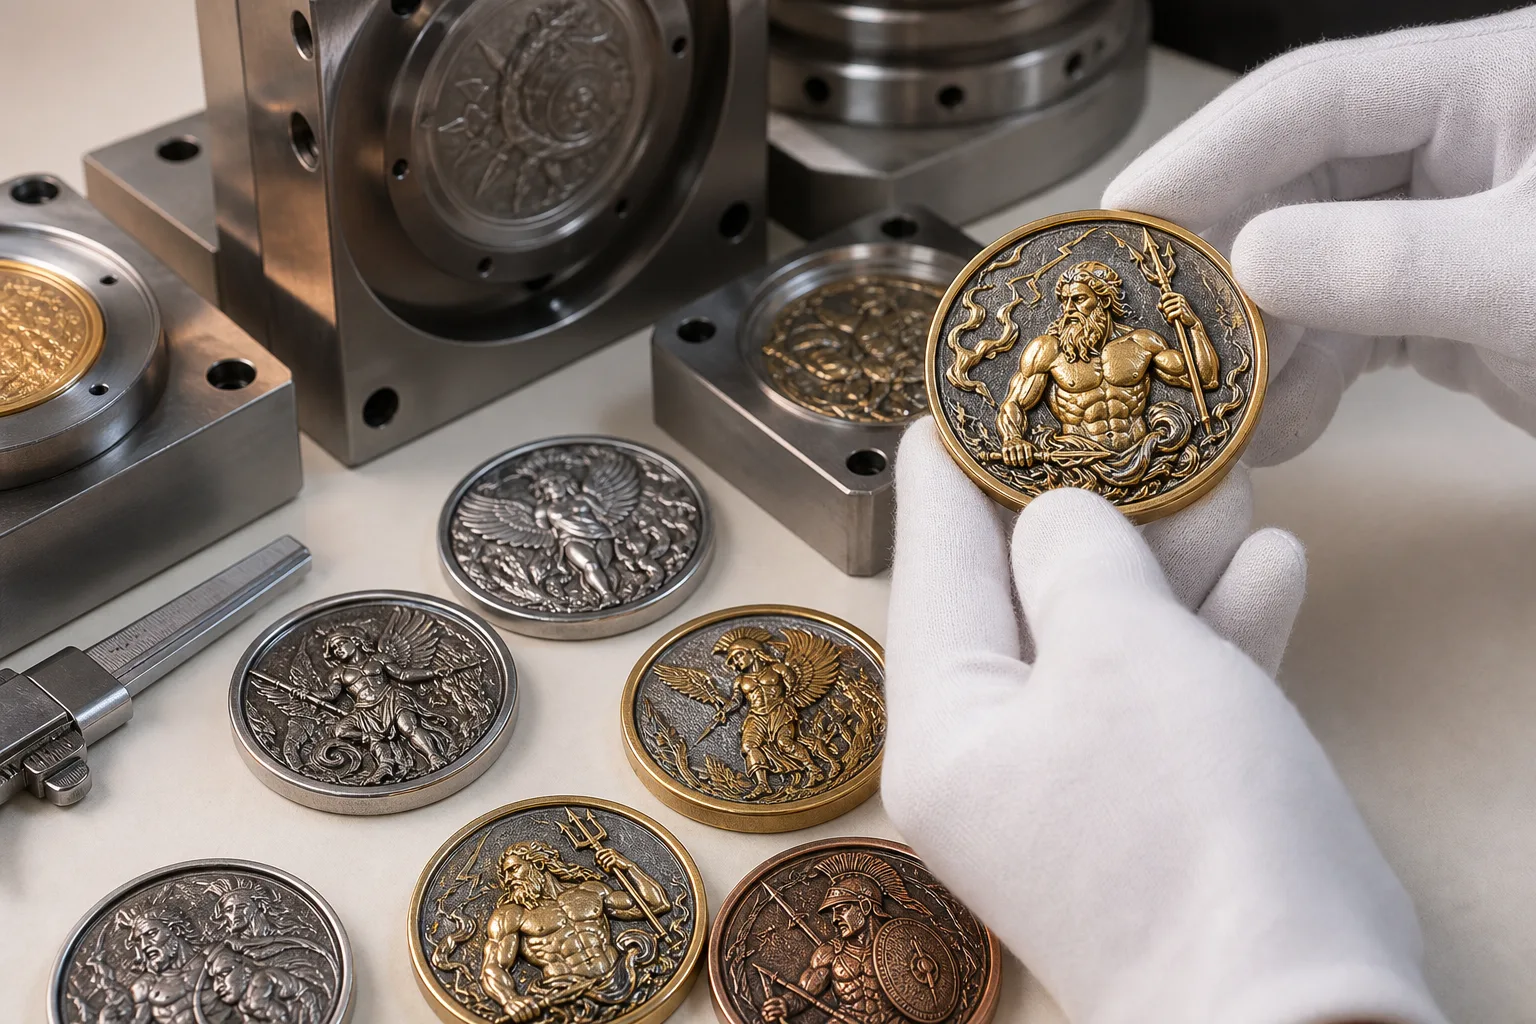
Build a Clear Hierarchy for a Sculpted Coin
A high-relief design needs more than a raised logo. It needs a planned order of importance. The focal subject should occupy the strongest level, while supporting shapes, text and background elements remain subordinate. Without that hierarchy, several raised elements may compete for attention.
Start by assigning each feature a role:
- Primary subject: The portrait, emblem, object or symbol that should appear most prominent.
- Supporting forms: Shapes that add context without matching the height or visual weight of the main subject.
- Text and borders: Information that must remain readable around or behind the sculpted forms.
- Recessed field: The lower surface that creates separation and provides visual space.
Transitions also matter. A sudden step can create a firm break between design areas, while a gradual transition can produce a modeled, sculpted appearance. The 3D proof should show these relationships from more than one viewing angle. No relief level should be treated as final until the full geometry has been reviewed for the chosen coin structure.
Use Two Plating Tones to Separate Design Zones
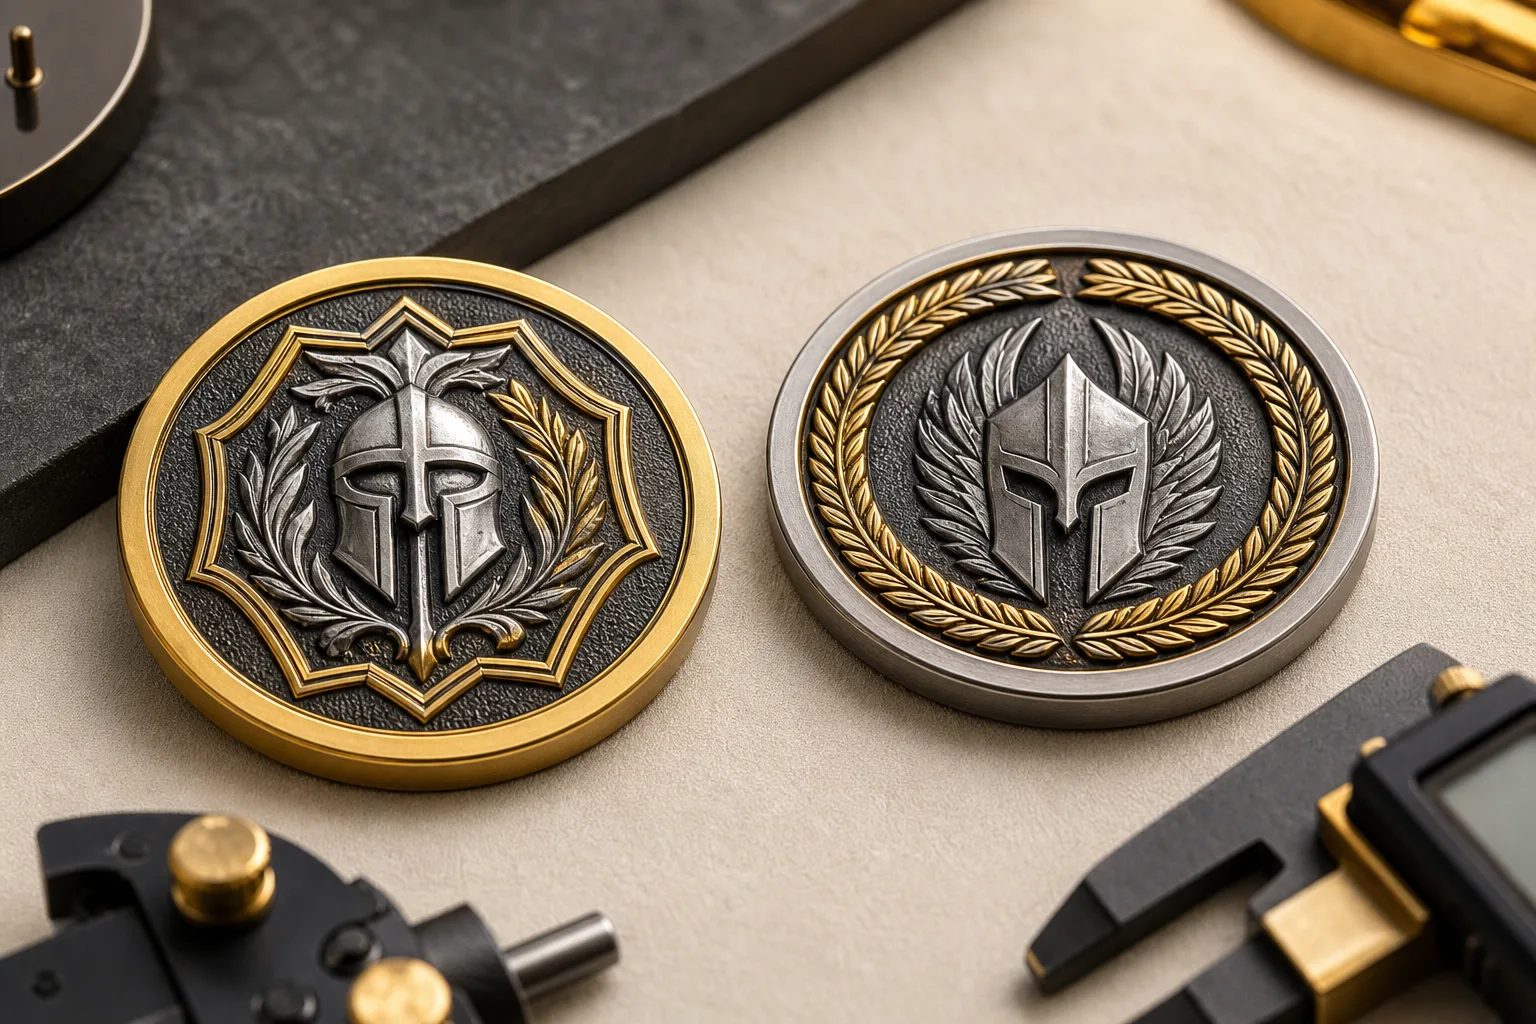
Dual plating applies two metal finishes to defined parts of one coin. The contrast can frame a central feature, divide the front from a surrounding ring or distinguish raised forms from recessed areas. It can reduce the need to depend on enamel color for every point of separation.
Gairun supports dual plating and works with gold, silver, nickel, black nickel, antique bronze and antique silver finish directions. The final pairing and placement depend on the artwork and production review. A bright and dark pairing may create strong separation, while two closer tones can produce a quieter distinction. Antique finishes can change how recessed detail reads, so they must be evaluated with the relief structure rather than selected in isolation.
Mark both plating assignments directly on the front and reverse artwork. Names alone may not show where a finish stops, especially around narrow borders, lettering or connected relief. For a broader comparison of individual finish types, use our plating and metal finishes capability page.
Coordinate 3D Relief with Two-Tone Plating
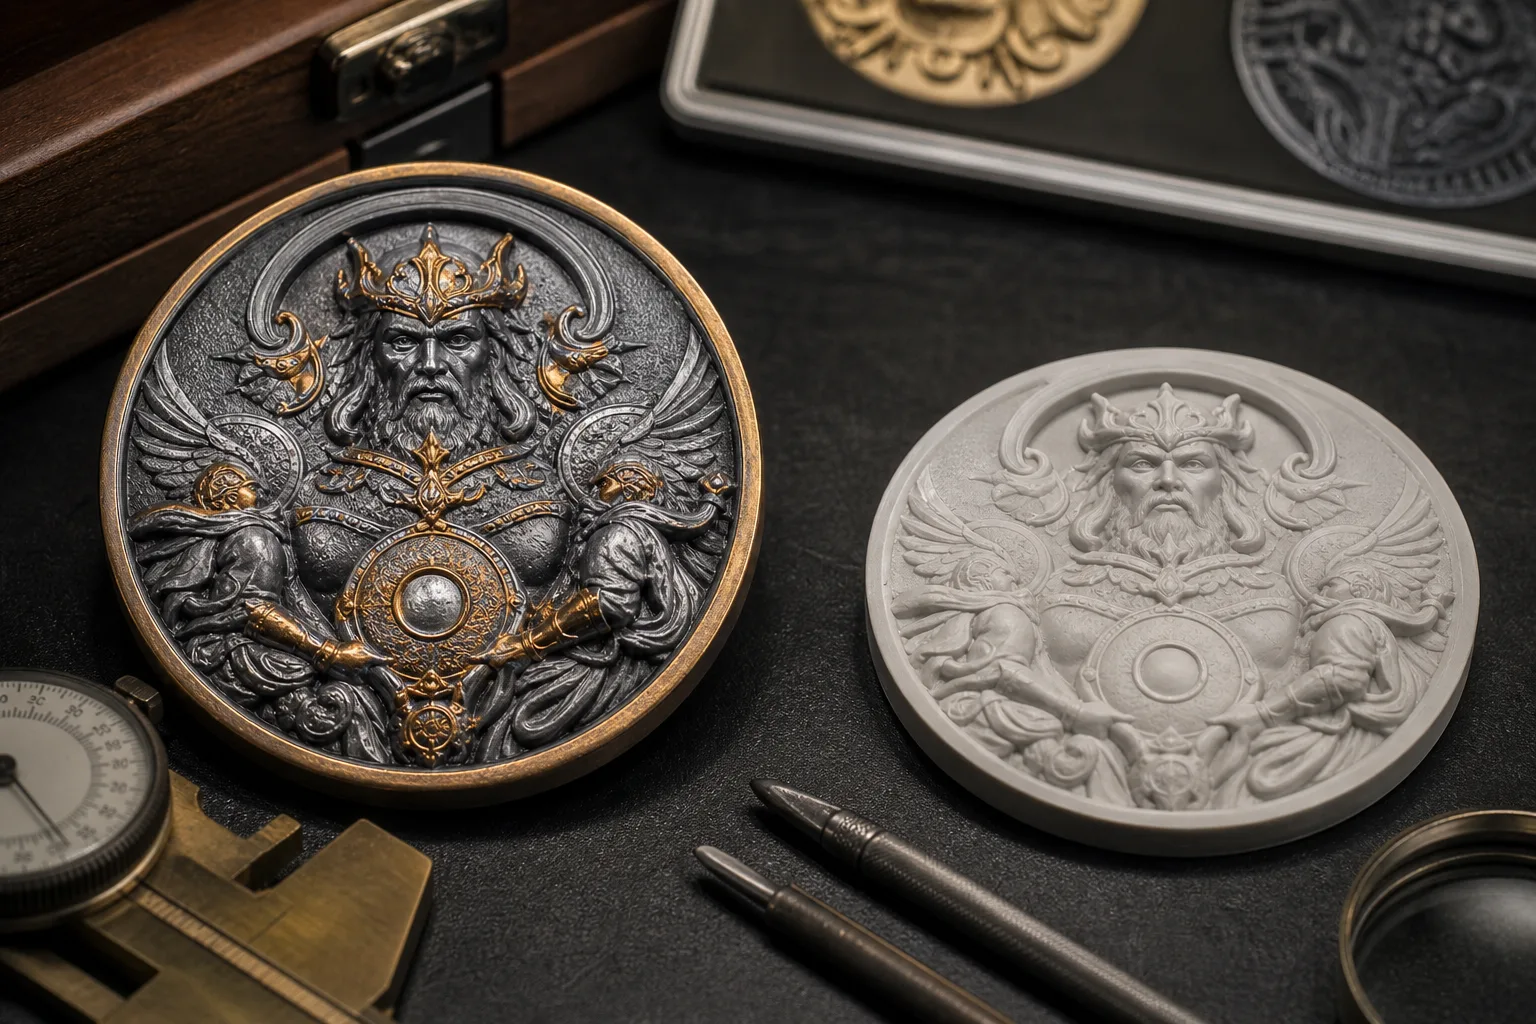
High relief and dual plating work well together when both reinforce the same focal order. For example, one plating tone may identify the main raised form while a second tone controls the surrounding field. Relief supplies the physical prominence, and plating makes that relationship easier to see from the front.
Adding more effects does not always make a stronger coin. Several relief levels, two metal tones, polished highlights and textured fields can compete if they do not follow one clear design hierarchy. Keep the strongest contrast around the feature that matters most. Supporting surfaces can then use quieter changes in level, finish or texture.
Sandblasted or matte areas may also help separate a recessed field from a polished raised form. Their placement should be reviewed with the plating map because surface texture affects how each metal tone reflects light. Not every relief shape, finish boundary and texture combination is suitable for every design. Feasibility is determined from the complete artwork, material direction and intended coin structure.
Translate the Design into Mold-Ready Geometry
A flat illustration can show the subject and outline, but it does not fully define a sculpted coin. High-relief artwork must be translated into three-dimensional geometry that identifies peaks, lower planes, slopes and recessed fields. This geometry guides mold development and the forming route.
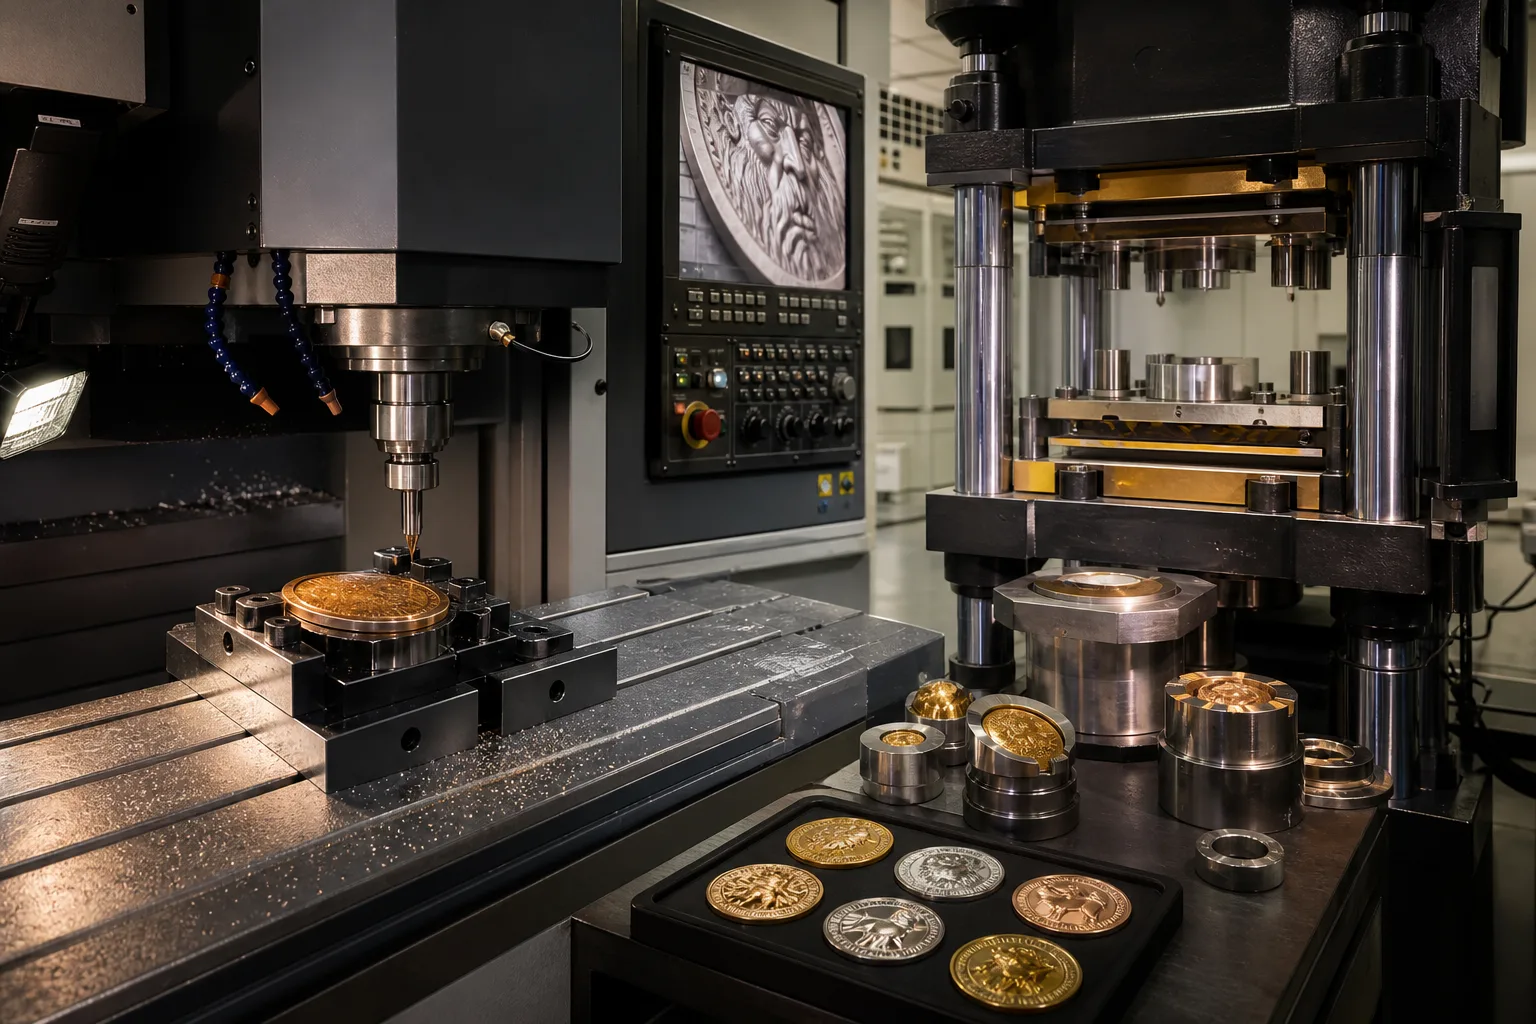
Our verified production capabilities include CNC engraving machines, zinc alloy die-casting machines and hydraulic high-relief forming. We also operate 200T and 500T hydraulic presses. The suitable route depends on the approved design, selected material and relief structure. Zinc alloy, brass, iron, stainless steel and aluminum are available material directions, but the design must be reviewed before a material or process is assigned.
CNC engraving converts the reviewed geometry into mold detail. Trial forming then provides a physical first article for comparison with the drawing. Buyers who need more detail about the forming options can review metal stamping and hydraulic relief. Other coin types and product formats are available through our custom metal products range.
Define Plating Boundaries and Surface Direction
A two-tone coin needs a placement map, not only two finish names. The map should identify which tone appears on each front and reverse area and how the treatment relates to edge-visible surfaces. Boundaries are usually easier to assess when they follow an intentional relief break, border or recessed field.
Include the following finish directions in the artwork review:
The artwork proof should use a legend or keyed notes so that finish instructions cannot be confused with color artwork. If a boundary crosses curved relief or fine detail, it requires specific engineering review.
01
The first and second plating tones, labeled consistently on every view.
02
The exact front and reverse areas assigned to each tone.
03
Any polished highlights that must remain visually distinct.
04
Recessed areas intended for sandblasting or a matte finish.
05
Areas where plating placement follows a raised edge or level change.
06
Edge-visible treatment where it affects the front-to-back presentation.
Prepare the Front, Reverse and 3D Proof
For a focused review, provide the front and reverse design, overall dimensions, exact text, preferred material or forming direction, and a clear ranking of relief levels. Identify both plating tones and mark their intended locations. Reference images are useful when they show the desired surface character, but they do not replace a placement map.
Our professional 2D and 3D design team can develop production artwork from vector art, PDF files or hand-drawn concepts. The team works with AutoCAD, CorelDRAW, Adobe Illustrator, Rhino and ZBrush. This support helps translate a concept into a reviewable proof, but manufacturability still depends on the completed engineering assessment.
Check the proof for more than overall appearance. Confirm the relationship between the main subject and supporting levels, the direction of each slope, text placement, recessed fields and every plating assignment. The artwork design and proofing service describes how source material is developed for buyer review.
Inspect Relief and Plating on the First Article
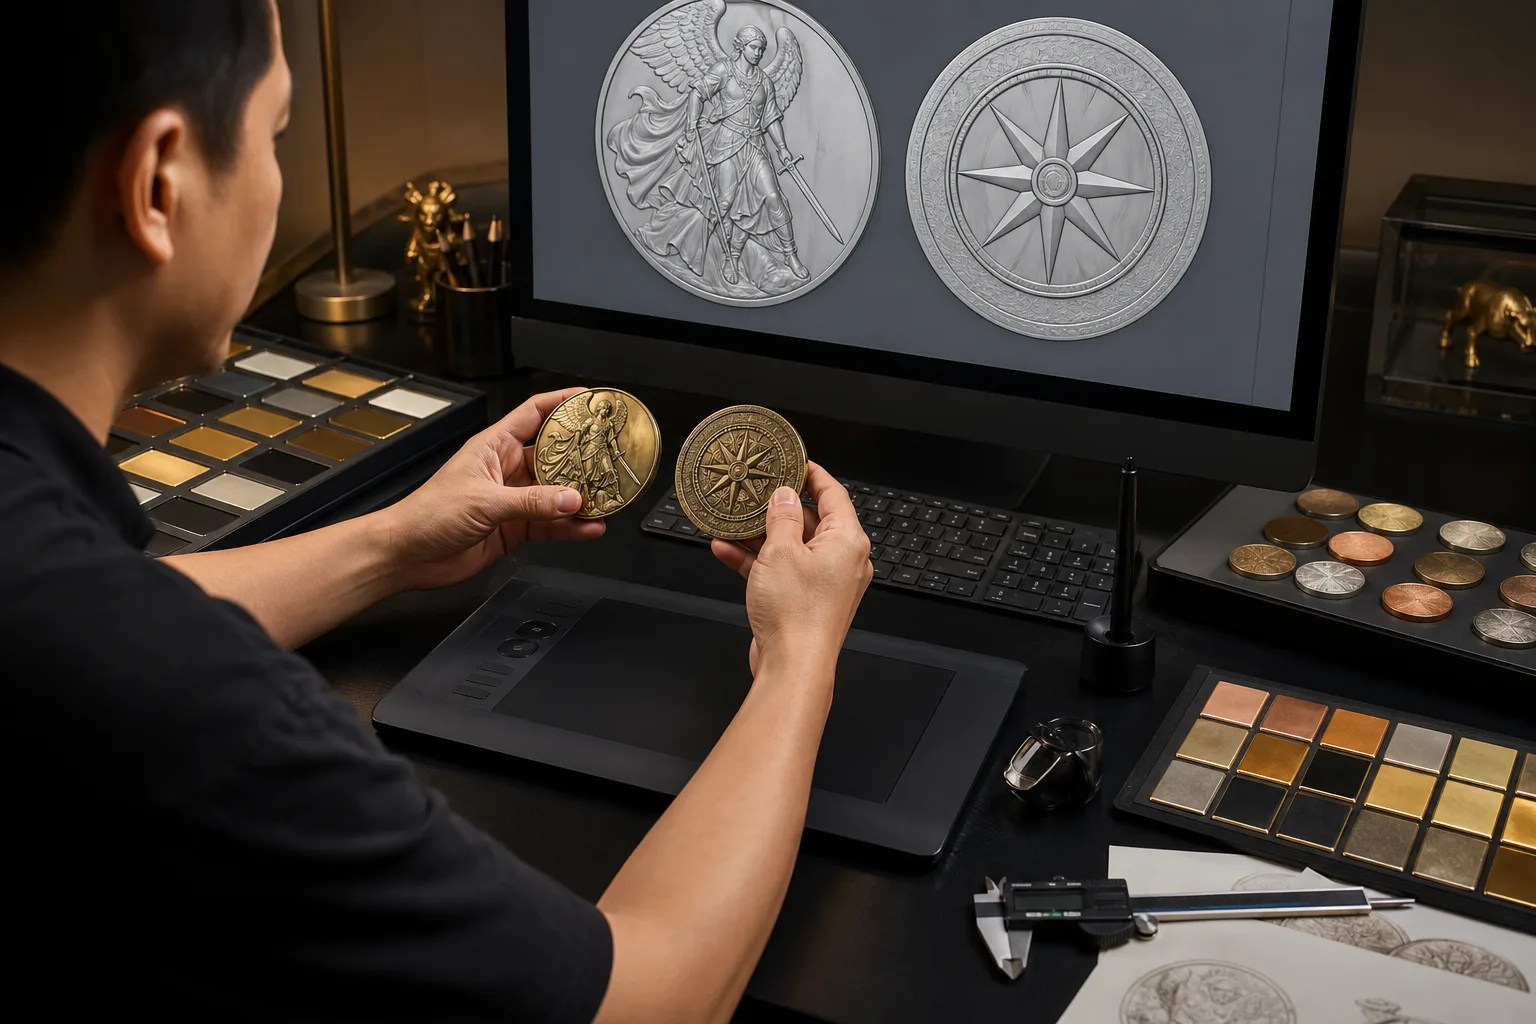
The first article provides physical evidence of how the mold, forming route and finishes translate the approved design. Gairun compares its dimensions, thickness and relief detail against the approved drawing. The review should confirm that the focal subject has the intended prominence and that supporting levels remain distinct.
Plating inspection should verify placement and visible contrast between the two metal tones. Our in-process checks also cover burrs after forming, flatness after polishing, plating color difference and plating adhesion. Buyers should examine visible surfaces under more than one viewing angle because highlights and shadows can change the apparent depth.
01
Compare the front and reverse with the approved drawing.
02
Check the overall relief hierarchy, not only the highest feature.
03
Confirm that plating boundaries follow the approved placement map.
04
Review recessed fields, polished areas and matte or sandblasted directions.
05
Look for burrs, uneven surfaces and visible finish defects.
06
Record any requested changes against the proof version.
Questions About High-Relief and Dual-Plated Coins
What is the difference between a high-relief challenge coin and a dual-plated challenge coin?
A high-relief coin uses raised, recessed and sloped metal surfaces to create physical depth. A dual-plated coin uses two metal finishes to separate selected design areas. One changes geometry; the other changes metal-tone contrast.
Can high relief and dual plating be used on the same challenge coin?
Yes, they can be combined when the relief structure and plating boundaries support the same visual hierarchy. The complete front and reverse design must be reviewed because not every boundary can be applied effectively across every sculpted surface.
Which features should be raised, recessed or given a second plating tone?
Give the highest visual priority to the main subject. Use lower relief and recessed fields for supporting detail. Assign the second plating tone to a defined zone, frame or feature that needs clear separation. Avoid giving several unrelated areas equal emphasis.
What files and notes are needed for a 3D coin proof?
Provide front and reverse artwork, dimensions, exact text, relief priorities, plating assignments and finish references. Vector files are useful, but Gairun can also work from PDF files or hand-drawn concepts. See the artwork proofing process for further preparation guidance.
How are plating boundaries shown before production?
They are marked on the artwork proof with labels, keyed colors or a finish legend. The proof should show the first and second plating areas on both sides and identify any relationship to raised borders, recessed fields or textured surfaces.
What should buyers inspect on the first article?
Compare dimensions, thickness and relief detail with the approved drawing. Then check plating placement, visible contrast, burrs, flatness and surface appearance. Review the coin from several angles to assess both sculpted depth and finish separation.