
FACTORY-DIRECT OEM / ODM MANUFACTURING
Custom Bottle Openers Built Around Your Brand and Intended Use
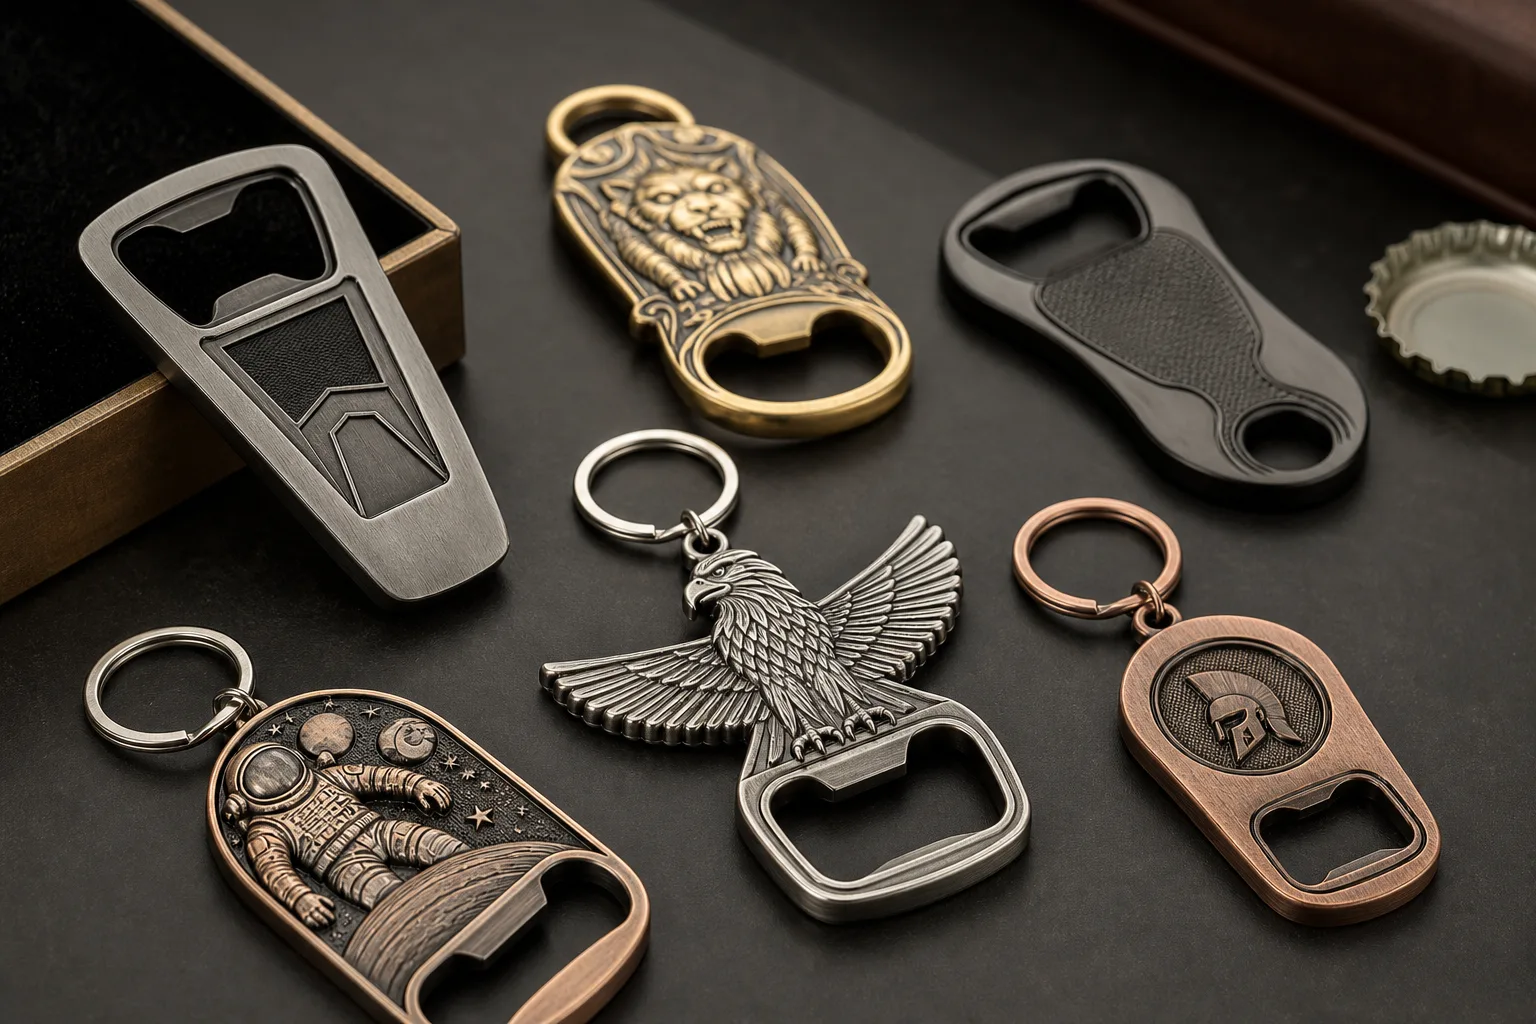
Choose a Bottle Opener Format Based on How It Will Be Used
Start with the way the opener will be carried, stored or distributed. A standalone branded opener can provide a larger metal body for a logo, message or decorative treatment. A custom opener keychain adds a keyring connection, making the product easier to carry but reducing the space available for branding and functional geometry.
| Format | Design focus | Points to define |
|---|---|---|
| Standalone metal opener | Visible branding area and comfortable handling | Overall shape, main viewing side, opener position and storage method |
| Opener with keyring | Portable promotional use | Ring position, connection clearance, orientation and logo area |
| Opener with another hanging point | Display or attachment to a requested item | Loop geometry, component layout and assembly requirements |
The format should follow the promotional role. A hospitality buyer may want an opener stored near a service area, while a beverage campaign may need a portable item for individual distribution. These uses can lead to different shapes, orientations and branding priorities.
Build the Logo Layout Around the Working Opening
The functional opening and the brand artwork share one metal body. They cannot be planned as separate layers. The logo must remain clear without entering areas needed for cap engagement, hand contact or attachment clearance.
Identify the main viewing side first. Then decide which elements must be most visible, such as a logo, product name, campaign line or event date. If the reverse side also carries information, show its orientation in relation to the opener edge. This prevents back artwork from appearing upside down when the front is held in the expected position.
We can begin with vector artwork, a PDF or a hand-drawn concept. Our 2D and 3D design team can develop a production artwork proof within 24 hours. The proof can show the proposed outline, brand placement, relief direction, color areas and attachment position. For more detail about organizing text, dimensions and front-and-back instructions, see our artwork and file preparation guide.
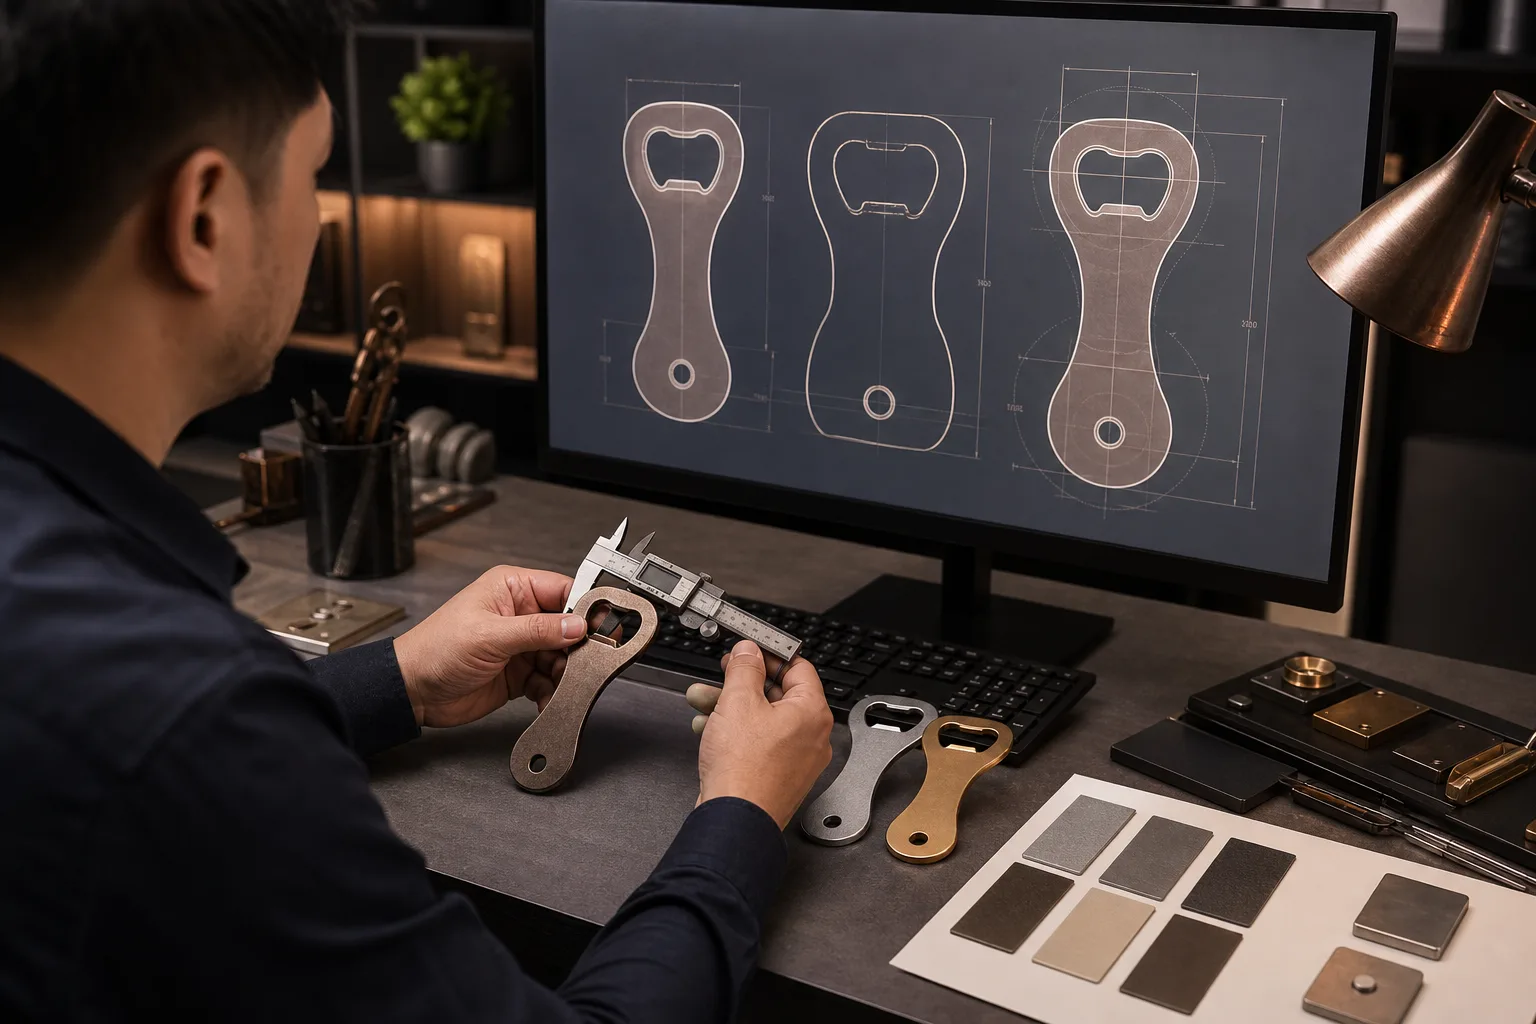
Protect the Functional Edge and Required Clearance
The opener edge is the working feature that engages the bottle cap. It is not unused decoration space. Its shape, surrounding metal and access area must be reviewed before tooling because a small visual change can also change the functional geometry.
Our review considers several connected areas:
- The opening must have enough clear space for its intended cap-engagement position.
- Surrounding metal must be considered as part of the opener structure, not only as a logo border.
- Artwork should not cross an edge or opening where the design could be interrupted.
- Raised details should be placed with hand contact and handling in mind.
- A keyring hole or loop must not interfere with the opening or restrict access to it.
These points require a project-specific engineering and design-for-manufacturing review. We do not apply one standard layout to every branded metal bottle opener. The product outline, intended format, artwork and selected process must be assessed together.
Match the Metal and Forming Method to the Opener Geometry
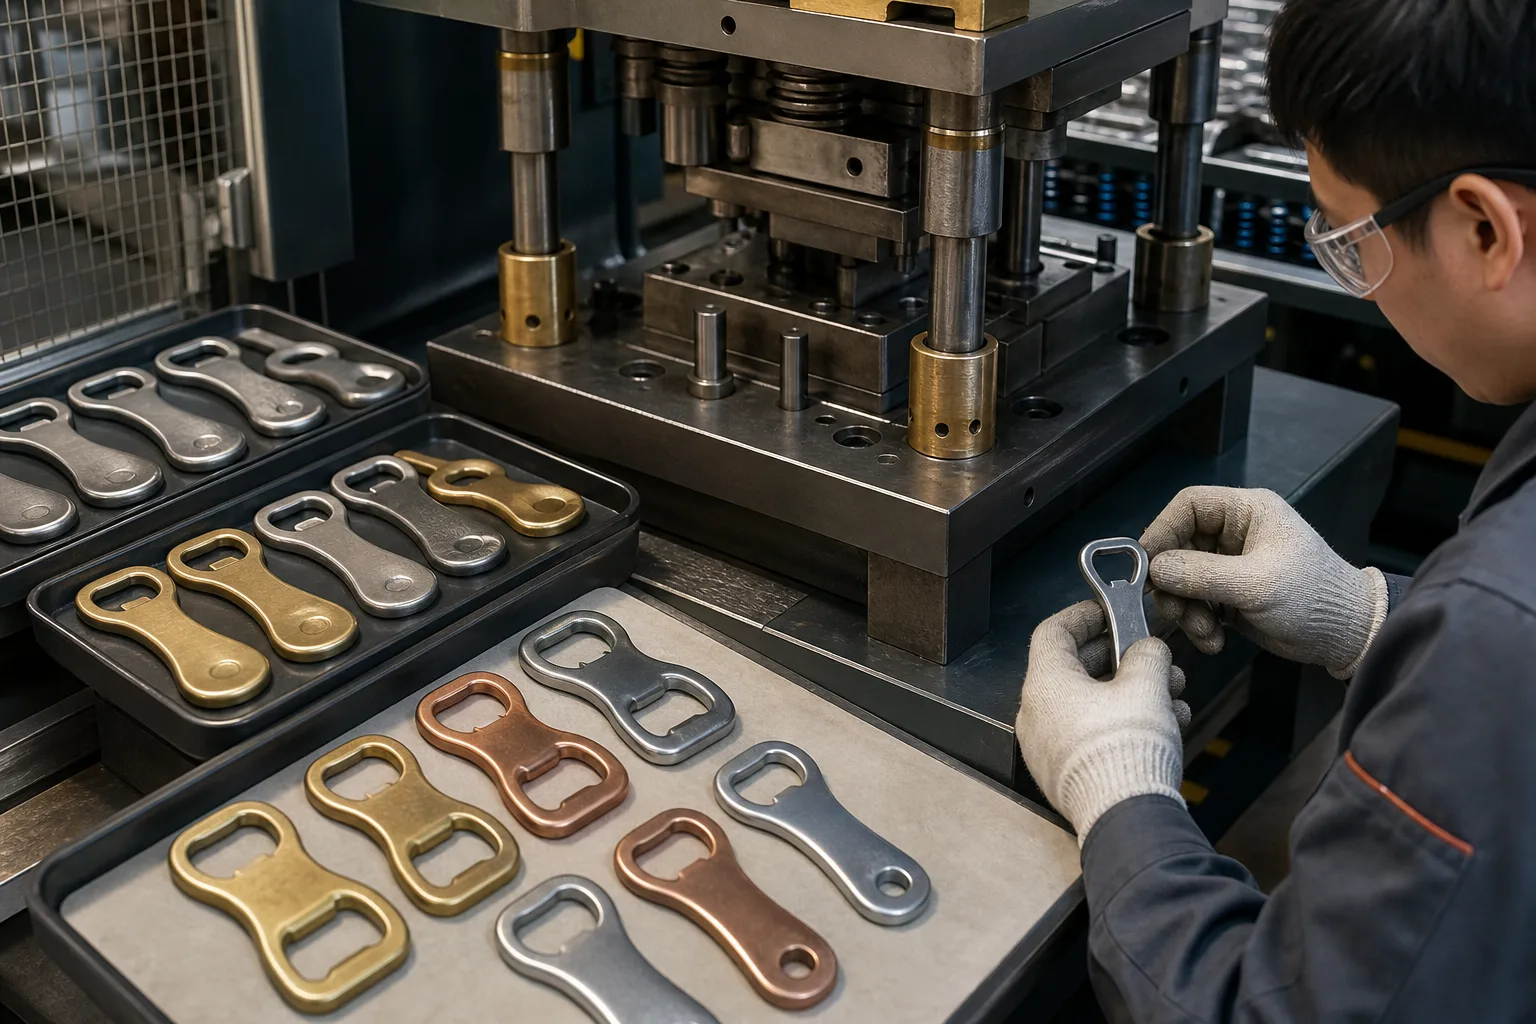
Gairun processes zinc alloy, brass, iron, stainless steel and aluminum. Material selection depends on the shape, relief, opening geometry, surface direction and production route. Not every metal is suitable for every opener concept, so the final choice follows an artwork and engineering review.
Our verified forming capabilities include zinc alloy die-casting, stamping or die-struck production, photo etching and hydraulic high relief. A dimensional body or sculpted logo may point toward a different route than a flatter metal design. Detailed relief, thin graphic areas and the position of the working opening can also affect the recommendation.
Rather than choosing a process from appearance alone, provide the result you want to achieve. Useful references include a front view, approximate dimensions, a side view if the body is shaped, and a note showing where the opener should engage the cap. We can then assess the relationship between the design and available production methods.
Apply Logo Relief, Color and Finish After the Structure Is Set
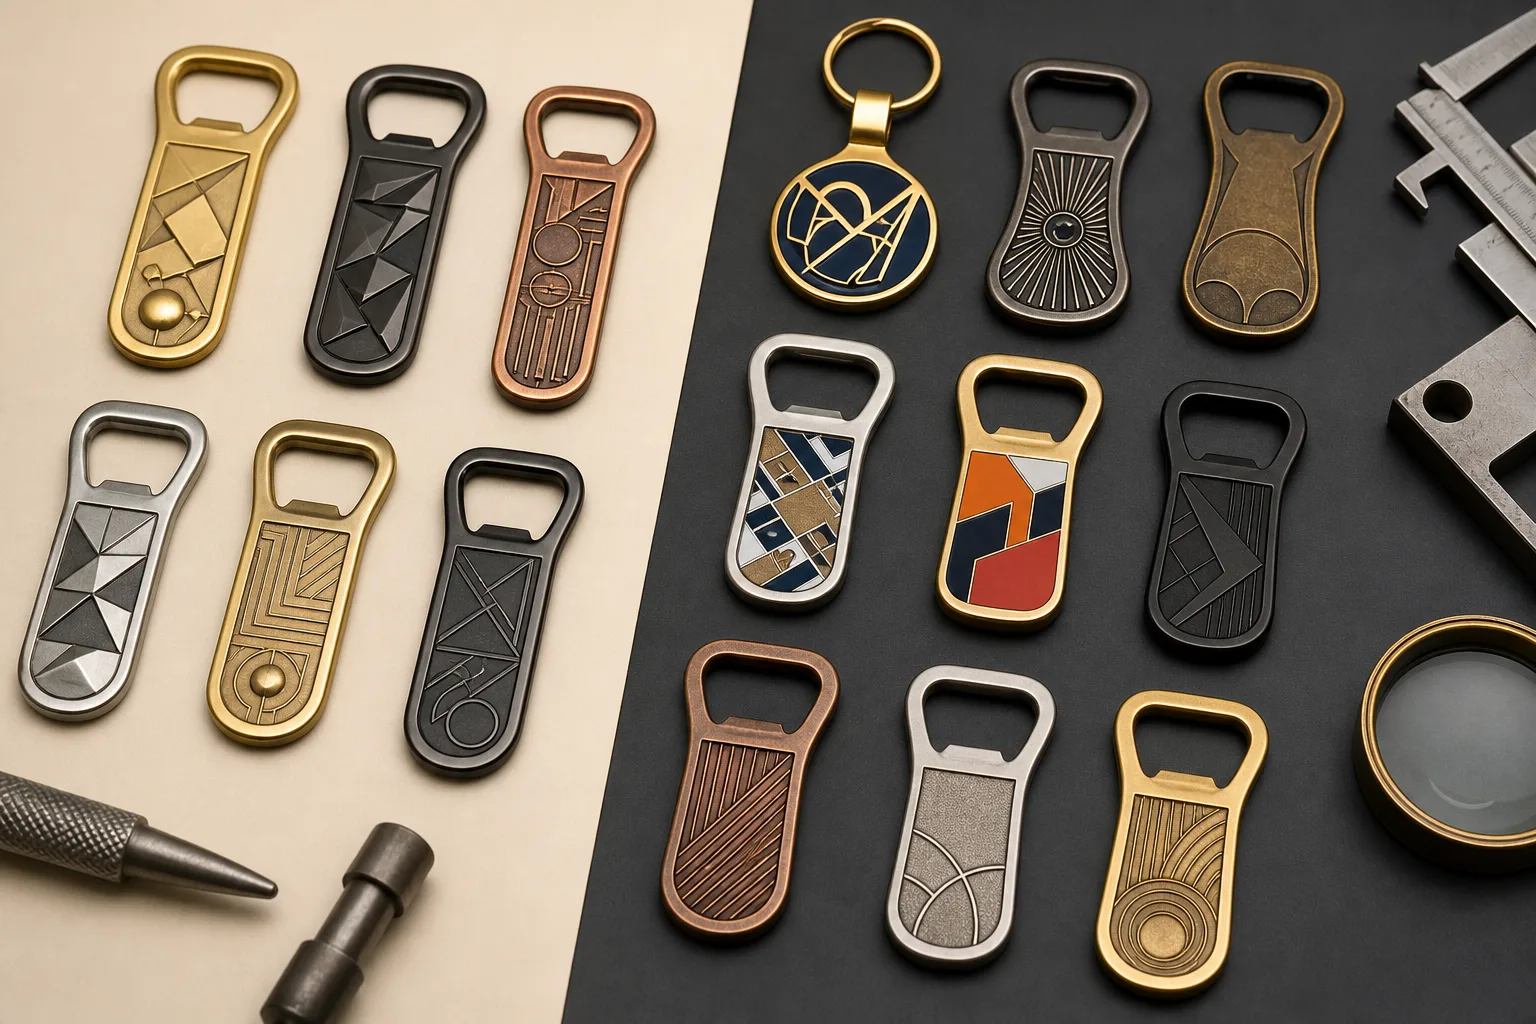
Once the opener body and working edge are defined, the brand can be developed through metal relief, color or printing. Raised and recessed details can separate a logo from the background. Soft enamel creates recessed color areas, while imitation hard enamel provides a smoother color surface. Screen printing and UV printing are available for artwork that needs a printed treatment. Clear epoxy can also be reviewed as a coating over decorated areas.
Available metal appearance options include gold, silver, nickel and black nickel plating. Antique bronze and antique silver provide a darker effect around recessed detail. Dual plating can divide a design into two metal tones when the boundaries are practical for production. Sandblasting and matte finishes offer additional surface directions.
Finish selection should support legibility rather than compete with the brand. For example, a dark metal background may help a lighter printed mark stand out, while antique treatment may make recessed relief more visible. The exact result still depends on the artwork, metal body and decoration sequence.
Plan Keyrings, Loops and Connection Points as Structural Features
If the opener includes a keyring or another requested attachment, show it in the first design brief. Adding the connection later can change the balance, orientation and available branding space.
The attachment position affects how the product hangs and which side faces forward. It must also stay clear of the opener edge. A connection placed too close to the working area may restrict access, while an isolated loop may require changes to the surrounding metal shape.
During development, we review the position of the connection, its orientation and how it relates to the main body. After assembly, attachment security is included in the finished-product visual inspection. The exact hardware and component layout are confirmed for the individual design rather than assumed from a standard keychain format.
Confirm the Design Through Proofing, Sampling and Inspection
The artwork proof establishes the proposed shape, dimensions, relief, color areas, finish and component positions before mold work. It allows both sides to confirm that branding has not entered a functional boundary and that the attachment is shown in the correct orientation.
Custom sampling normally takes 7–10 working days. A custom sample can be used to review the physical design, decoration, assembly and handling before bulk production authorization. It should not be treated as proof of an opening-life, force or performance rating that has not been specified and tested for the project.
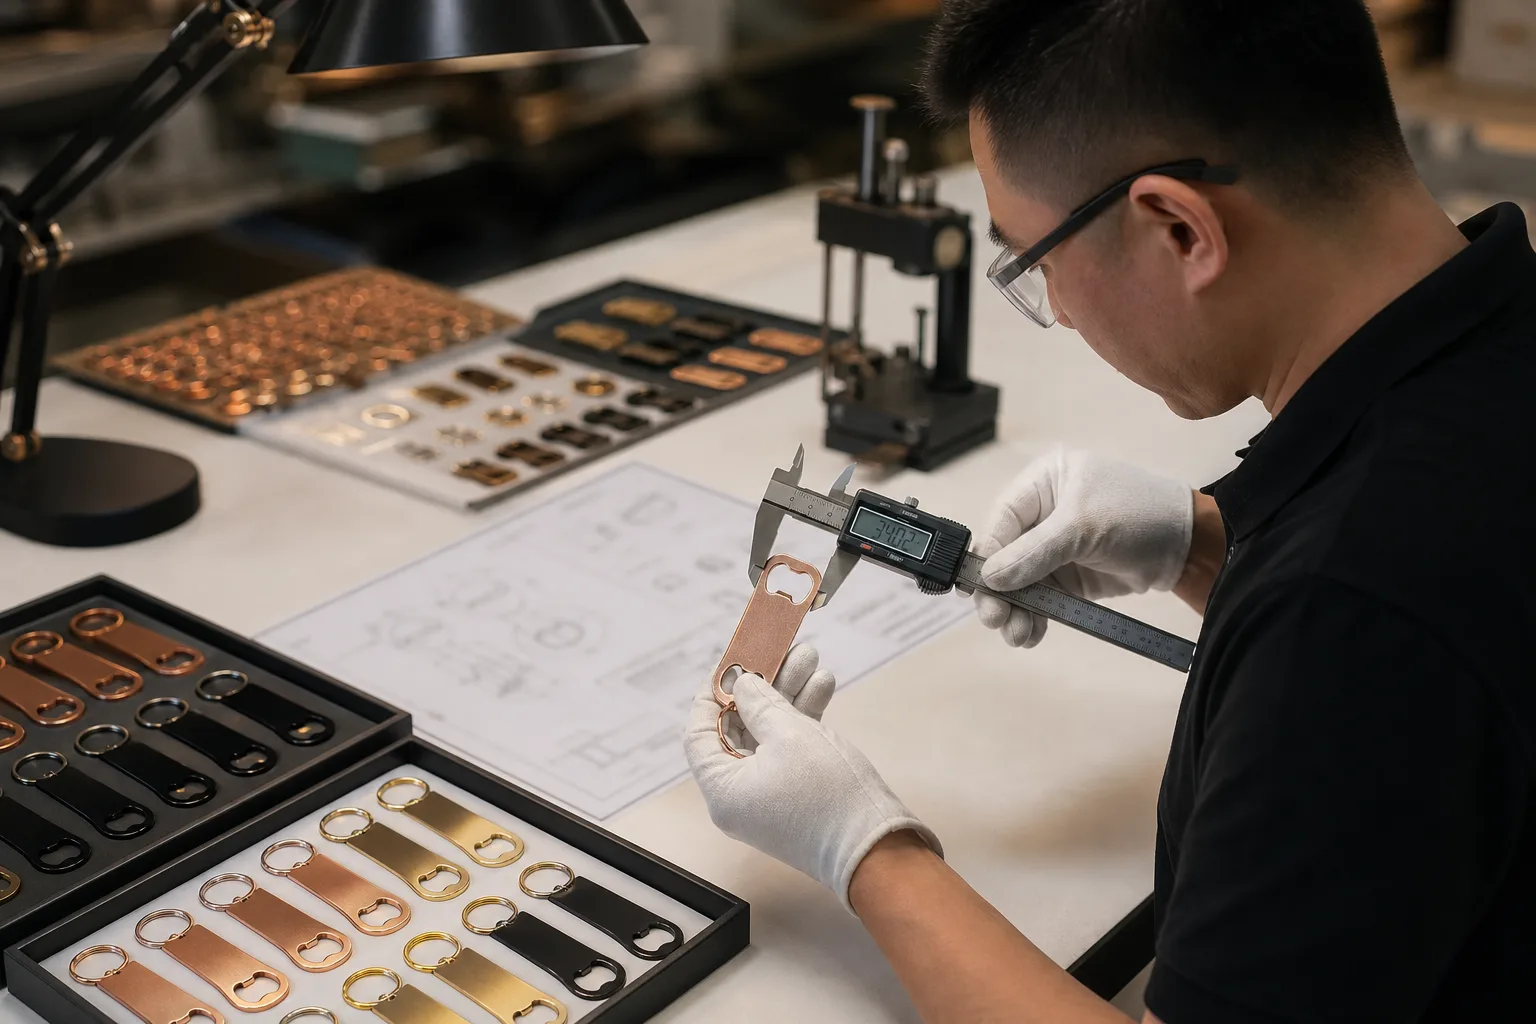
Our production checks include:
Existing stock samples are free as products and can help buyers review general workmanship and finish directions. Delivery cost is confirmed separately. Stock samples do not represent the final dimensions, artwork or function of a new custom design.
01
First-article comparison against the drawing for dimensions, thickness and relief detail.
02
Burr inspection after die-casting or stamping.
03
Surface flatness review after polishing.
04
Plating checks for color difference and adhesion.
05
Coloring checks for overflow and missing color.
06