
To simplify a logo for metal manufacturing, judge it at its actual finished size and construction, not on an enlarged screen. Define the product format, maximum dimension, body thickness, viewing distance, attachment, relief, and decoration before removing detail. Gairun’s Artwork Design and Proofing process can start from vector artwork, a usable PDF, or a hand-drawn concept, but no file is automatically production-ready.
The practical method is straightforward: create a final-size artboard, separate the artwork into metal structure and decoration layers, inspect it at 1:1 scale, remove low-value detail, and save a manufacturable version beside the original brand master. The objective is not to make the logo generic. It is to protect the silhouette, central symbol, distinctive wordmark features, and essential colors that carry recognition.
Simplify the Logo for Its Final Metal Size
Start with the physical object. A corporate lapel badge, souvenir pin, fashion pin, and printed event badge do not give artwork the same amount of usable space. A design that looks clear at 300% may lose narrow gaps, small text, or isolated details when reduced to the finished product.
For a corporate lapel badge, the supplied scenario guidance uses a maximum dimension of 18–30 mm and a body thickness of 1.2–2 mm. These values describe that use case only. They are not universal specifications, and the final size and thickness must be confirmed with the selected construction, attachment, and artwork.
- Define the product: State whether the item is a badge, enamel pin, souvenir pin, or printed badge.
- Set the physical envelope: Record the finished maximum dimension, body thickness, front and reverse requirements, and attachment position.
- Build production layers: Separate the outer metal boundary, raised and recessed forms, color fields, printed details, plating areas, and hardware.
- Inspect at 1:1: View the artwork at its intended physical size and at a normal wearing distance.
- Remove low-value detail: Delete decorative texture, secondary wording, hairline outlines, or tiny gaps only after deciding what the brand owner considers essential.
- Save two versions: Keep the original brand master unchanged and create a clearly named manufacturable production version.
Gairun’s pre-tooling engineering review may cover dimensions, thickness, relief, metal borders, color areas, attachments, component positions, and the proposed production method. The route should follow the artwork and product requirements. Die-struck, enamel, die-cast, photo-etched, and printed badges are different construction or decoration directions, not interchangeable labels.
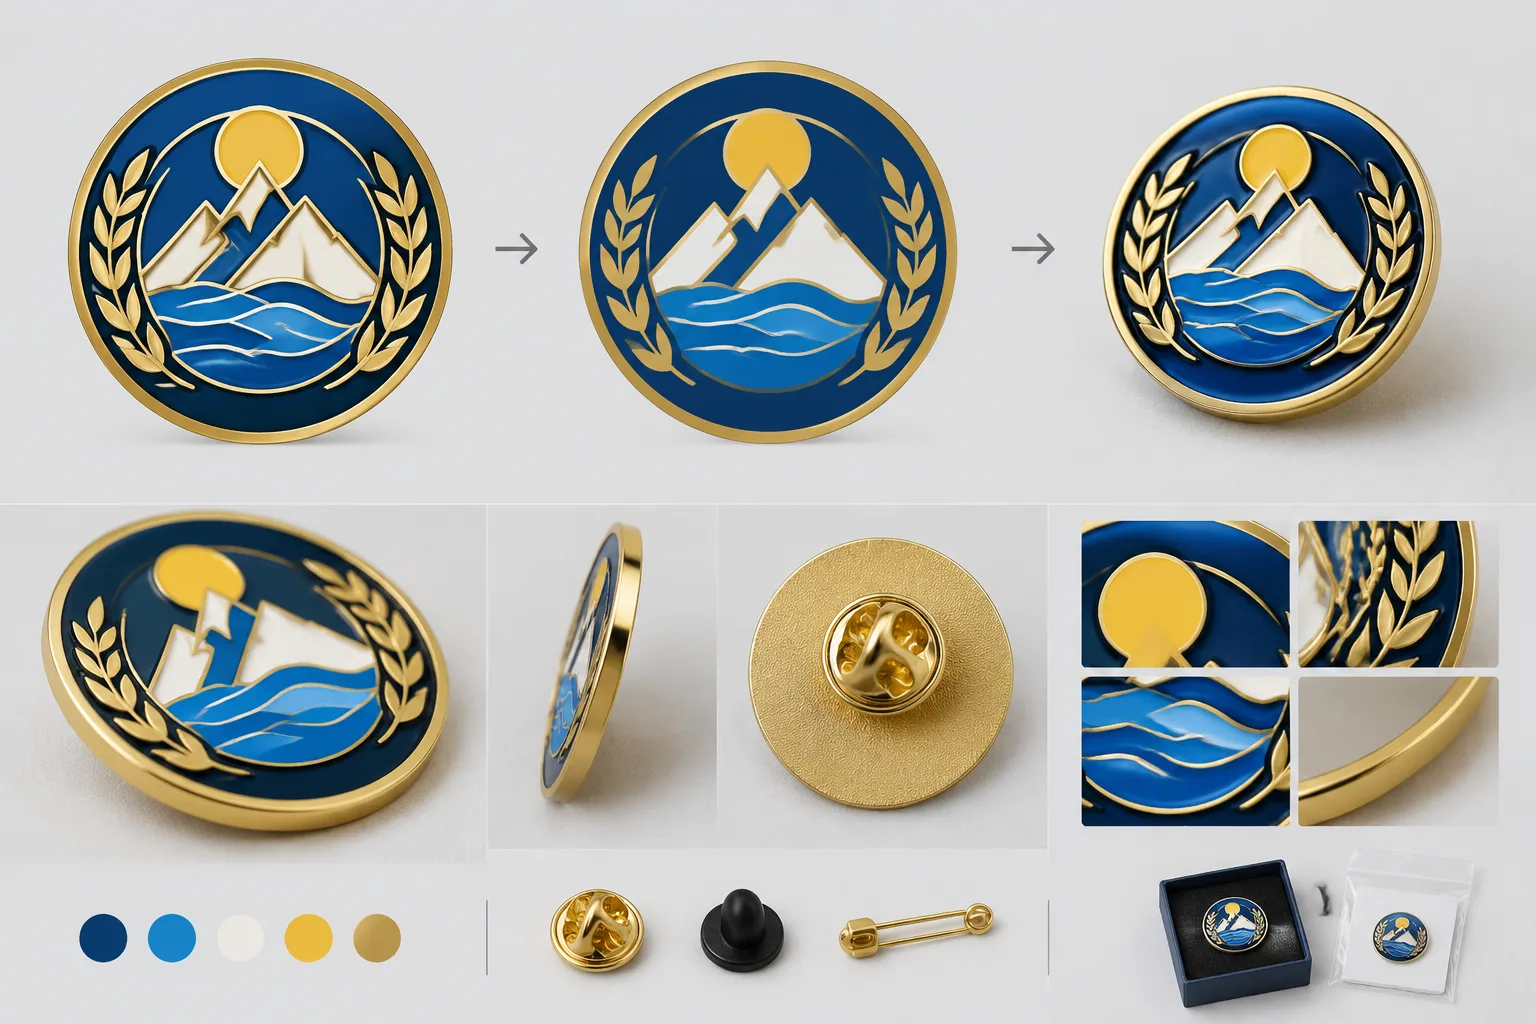
Diagnose Small Text, Thin Lines, and Closed Spaces
Small text is only one part of the problem. Inspect each feature that could disappear, merge, fill, or become structurally weak during forming, finishing, or decoration.
- Small text: Secondary circular wording often becomes the first feature to lose clarity. Consider larger wording, initials, a symbol, or a separate printed treatment when the text is not essential.
- Thin lines: Hairline borders and narrow strokes may disappear or reproduce inconsistently. Their treatment must be assessed against the metal structure and finished scale.
- Narrow gaps: Enclosed spaces can close visually when adjacent metal, color, or finish areas leave too little separation.
- Isolated islands: Small pieces surrounded by open space may be fragile or difficult to connect to the main body.
- Acute corners and projections: Long, narrow points can require structural changes, especially on irregular outlines.
- Tightly packed color cells: Soft enamel leaves color recessed below raised metal borders, so each color field needs a clear boundary.
- Gradients and tonal detail: Subtle shading, photographic effects, and complex gradients may not translate into separate enamel cells or raised metal forms.
There is no universal minimum detail level that can be applied responsibly to every metal line artwork. The result depends on final size, metal, forming route, relief, finish, decoration, and the relationship between neighboring features. A manufacturer should assess proposed line widths, gaps, text size, isolated elements, and relief structure before tooling.
Die-struck badges form metal around raised and recessed design areas. Color, plating, or printing can be selected afterward, but those later choices do not remove the need for a workable base structure. Zinc-alloy die-casting may suit an irregular body or more dimensional relief, yet small features should not be expected to transfer unchanged.
Check the front and reverse together. Reverse wording, posts, butterfly backs, rubber backs, tie-pin backs, or other hardware can affect clearances and balance. For wearable products, state the garment or wearing surface, attachment type, needle or post position, and relevant age restrictions.
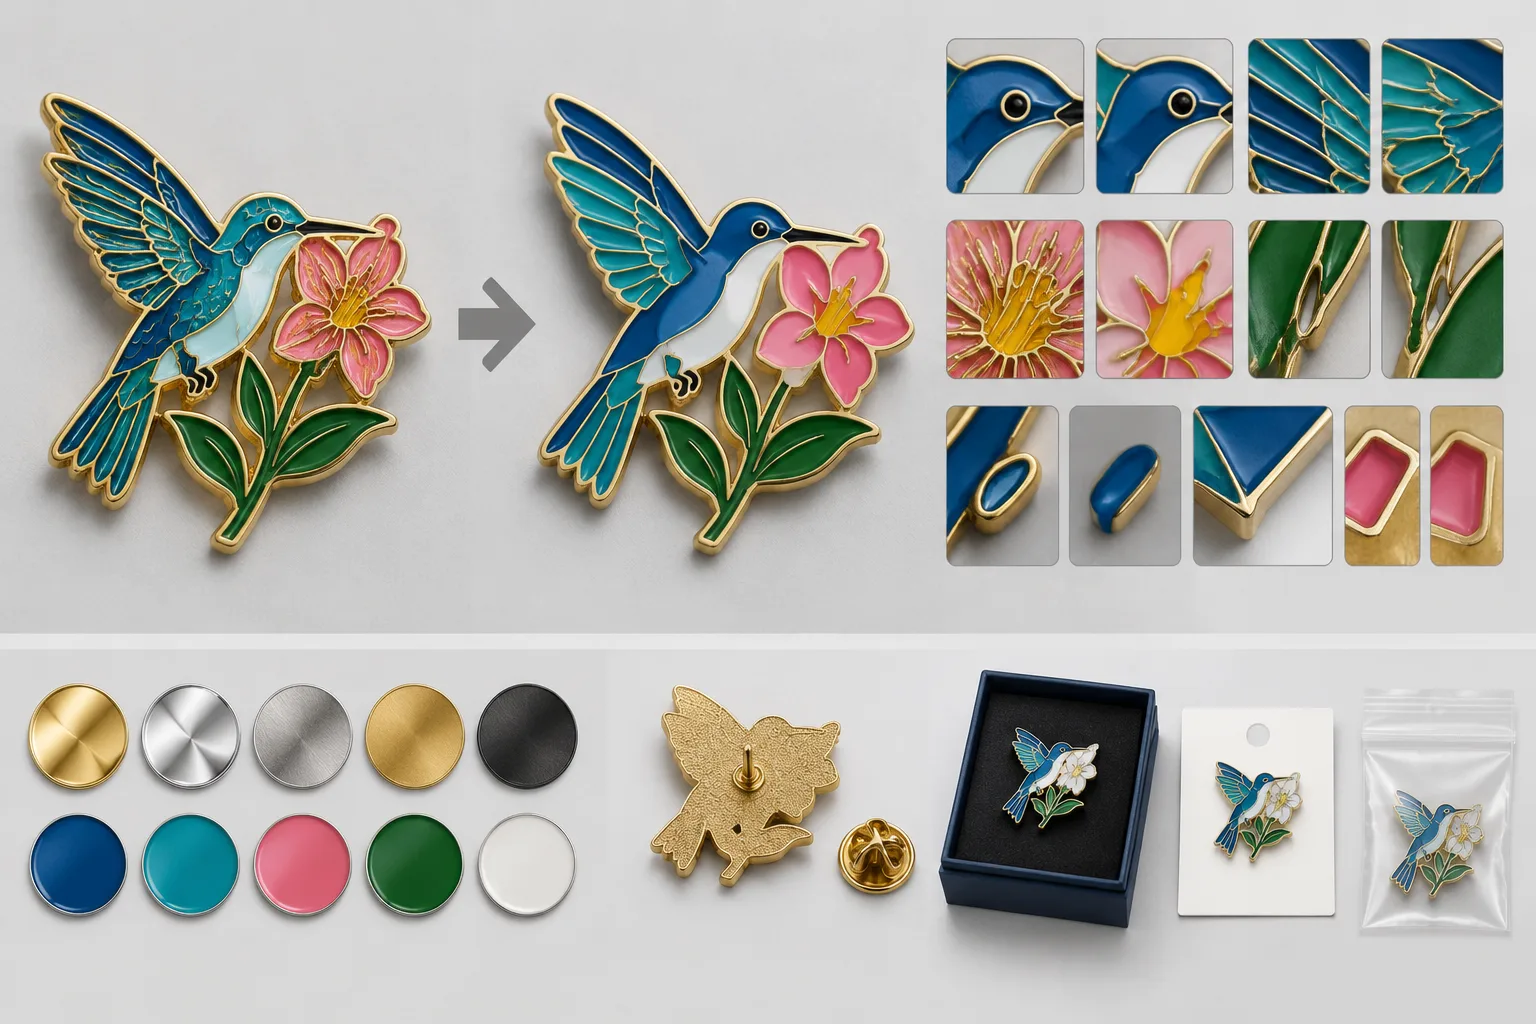
Preserve Brand Identity by Ranking Visual Priorities
Logo simplification becomes easier when every feature receives a priority. Ask the brand owner to classify the artwork into four levels:
- Essential identity: The outer silhouette, dominant symbol, distinctive negative space, and defining wordmark feature.
- Recognition support: Core colors, a secondary shape, a short word, or a border that helps identify the brand.
- Decorative detail: Texture, fine shading, secondary lines, small stars, or ornamental patterns.
- Removable or relocatable information: Microtext, dates, web addresses, or wording that could move to packaging or a larger printed area.
Test the logo in one color first. If the silhouette is not recognizable without color, the construction may be relying on decoration to perform too much identity work. Then create a reduced-color version and a final-size version. These tests expose weak gaps and overly fine lines earlier than an enlarged screen proof.
Deciding whether to keep a short wordmark, enlarge it, or replace it with initials belongs to the brand owner. The manufacturer can explain physical consequences, but should not silently rewrite the approved identity. Adobe’s guidance on simplifying a logo to its essential elements supports the broader design principle: retain the features that make the mark recognizable before adapting it to a physical medium.
For membership, corporate, or achievement badge series, a consistent silhouette and visual hierarchy can help buyers distinguish versions. Each version still needs its own approved production artwork. A 2D or 3D proof is a useful visual checkpoint when sufficient information is available, but it does not replace confirmation of dimensions, structure, finish, or commercial terms.
Match Artwork Complexity to Metal Construction and Decoration
The table below gives an initial direction from observable artwork signals. It is a starting point for discussion, not a final manufacturing specification.
| Observable artwork or buyer input | Practical manufacturing implication | Initial decision | What still requires confirmation |
|---|---|---|---|
| Simple geometric logo with clear borders | Distinct metal boundaries can separate raised forms and color fields. | Initially consider brass or iron with stamping and soft or imitation hard enamel. | Finished size, thickness, line treatment, color layout, plating, and attachment. |
| Irregular or dimensional outline | Long projections, openings, and uneven mass can affect structure and pin placement. | Consider zinc-alloy die-cast review for a formed outline or more dimensional relief. | Geometry, thickness, rear attachment area, relief hierarchy, weight, and tooling feasibility. |
| Recessed color-cell artwork | Each color area needs a continuous metal boundary and enough separation from adjacent cells. | Consider soft enamel when the recessed color effect suits the design. | Color boundaries, overflow control, relief, plating, and the approved color reference. |
| Fine graphic detail or multiple tones | Dividing every mark into enamel cells can make the design crowded. | Review screen printing for defined details that should remain printed. | Surface preparation, resolution, ink system, color count, and use conditions. |
| Gradient or image-like artwork | Continuous tonal changes do not naturally correspond to separate metal recesses. | Review UV printing or a controlled reduction into solid color fields. | Fine-mark reproduction, color layout, outdoor life, and colorfastness. |
| Larger printed badge artwork | More surface area can support text and graphic detail without forcing every element into raised metal. | Consider a printed metal badge route when the graphic treatment is the priority. | Finished dimensions, print area, protective finish, attachment, and distribution use. |
Soft enamel leaves colored areas below raised metal borders. Imitation hard enamel brings color and metal areas closer to one level, creating a smoother face. Neither option should be assigned a universal price or durability advantage. Gairun also offers screen printing for defined graphic details and UV printing for printed detail or multiple tones. Fine marks, gradients, and color layout require confirmation for the actual design.
Plating and surface treatment can add contrast when the artwork has clear boundaries. Dual plating uses two plating appearances within one design, while sandblasting and matte finishing can reduce shine or distinguish selected areas. Suitability depends on the base metal, forming route, relief, exposed areas, and the width of each treated region.
For related visual examples, buyers can compare Gairun’s Printed and Epoxy-Coated Badges and the guidance on Enamel, Printing and Epoxy Finishing.
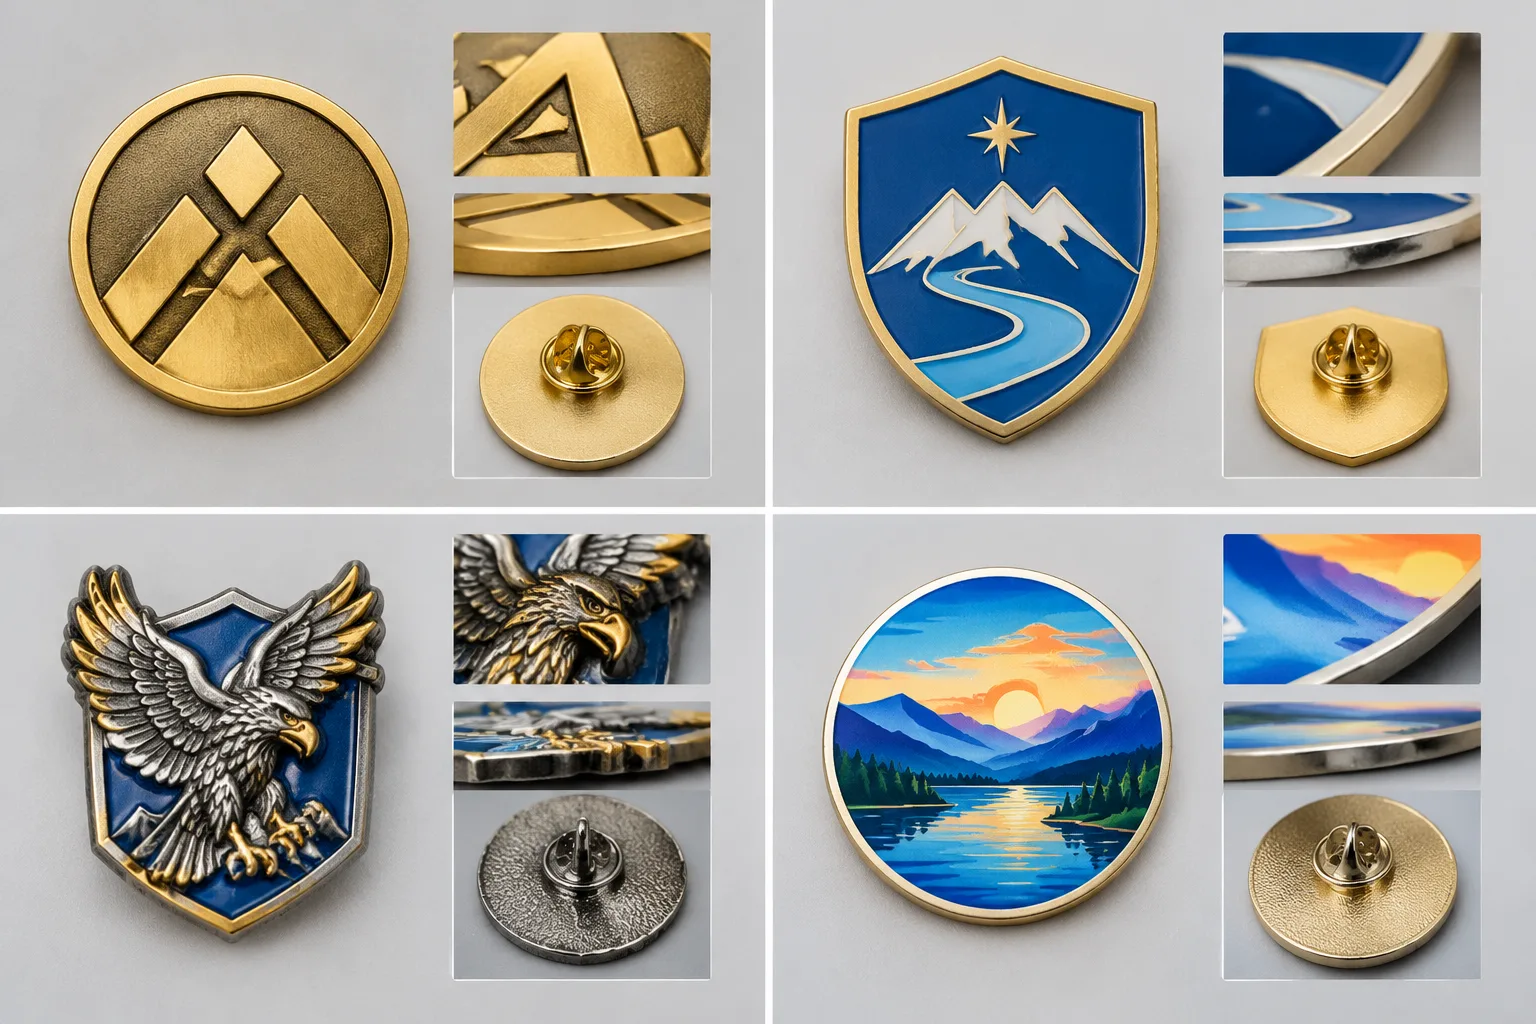
Compare Two Manufacturable Logo Directions
Example 1: Corporate Lapel Badge
Suppose the original mark has a detailed emblem, thin circular wording, and several narrow color regions. An initial direction would retain the outer emblem and central symbol, remove or enlarge secondary wording, and widen the separation between color fields. Stamping with soft or imitation hard enamel could then be considered because the revised logo has clearer metal boundaries.
The decision could change if the circular wording is legally or commercially essential, if the final badge is smaller than expected, or if the brand owner accepts printed detail. The contextual corporate badge guidance of 18–30 mm and 1.2–2 mm remains a scenario reference only. Attachment options such as a butterfly back, rubber back, or tie-pin back also depend on the garment, logo size, and wearing requirements.
Example 2: Souvenir or Fashion Pin
Suppose the artwork contains an irregular silhouette, small decorative openings, and gradient shading. Simplify the outer shape first, remove fragile projections, and convert the gradient into controlled color fields. If tonal variation is central to the design, UV printing may be considered. Zinc-alloy die-cast construction may also be examined for the irregular body and dimensional effect.
The direction could change with the desired relief, number of layers, total thickness, weight, or licensing requirement to preserve fine detail. Local openings, layered construction, special effects, and pin position need confirmation before tooling. These are hypothetical artwork patterns, not customer projects or guaranteed manufacturing outcomes.
For both examples, compare the original master, the simplified production version, and the approved 1:1 proof. The decision rule is simple: preserve recognition-critical geometry first, then choose the decoration method that can express the remaining detail with clear boundaries.
Control the 1:1 Proof and Approval Workflow
A controlled proof turns a design discussion into a manufacturing reference. The drawing should show finished dimensions, front and reverse artwork, metal borders, color fields, relief hierarchy, plating areas, attachment positions, and text direction. Mark which features are raised, recessed, printed, plated, or intentionally removed.
Inspect the proof at actual size and normal viewing distance. Record the exact file name, revision, date, and buyer approval. Keep the original brand master separate from the production file so a later edit does not silently change the authorized design.
Gairun states that tooling begins only after the relevant production artwork has been reviewed and accepted. After tooling and trial forming, its stated process includes comparing the first article with the approved 1:1 drawing for dimensions, thickness, and relief detail. Tolerances still need to be specified for the order. Colored parts are also described as being checked for color overflow and insufficient color, which is a process description rather than a numerical quality guarantee.
A 2D or 3D proof may be available within 24 hours when sufficient project information is available; current timing should be reconfirmed. This is an artwork service timing, not a production lead time. When a custom sample is selected, it is used to assess the proposed appearance and construction. Sample approval remains separate from authorization for bulk production, commercial approval, compliance documents, and shipment terms.
Before release, confirm dimensions, thickness, line treatment, relief, color boundaries, attachment, finish, and production method in the order documentation. A proof can show the intended design, but it cannot resolve an undefined specification.
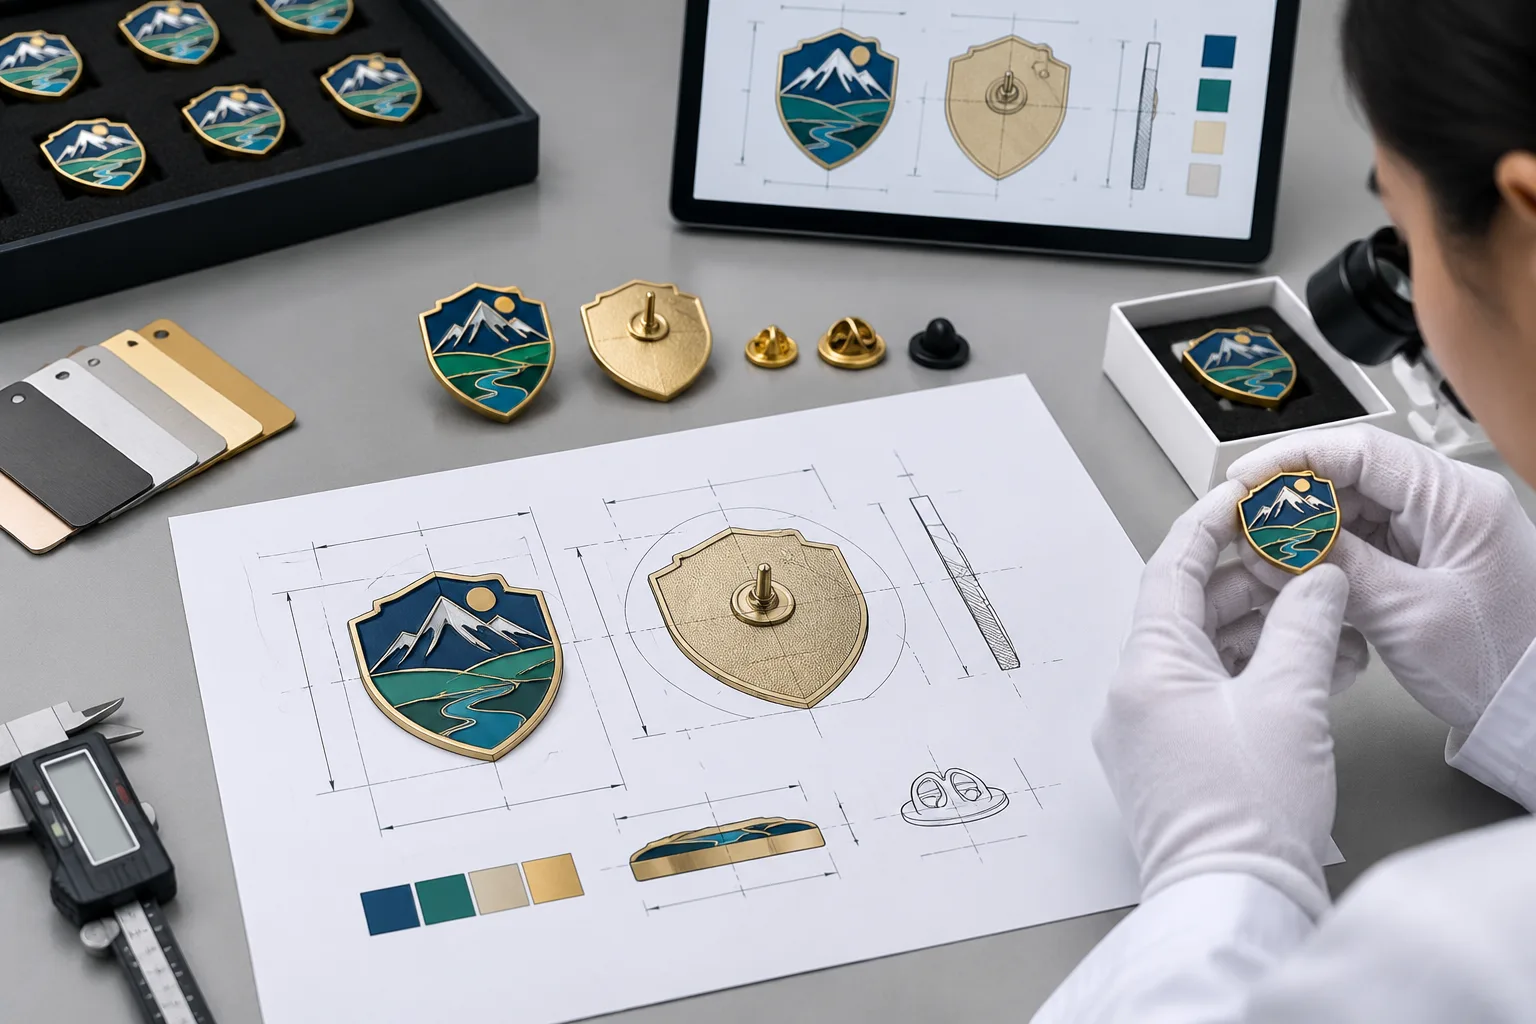
Prepare the RFQ and Brand-Approval Checklist
A useful RFQ gives the manufacturer enough context to separate an initial recommendation from a decision that needs engineering confirmation. Include:
- Product type and intended scenario.
- Quantity, finished maximum dimension, and thickness preference.
- Original logo master and simplified production artwork, if already prepared.
- Design variants, front and reverse instructions, and text direction.
- Material preference, color references, plating, matte, sandblasting, or polished areas.
- Attachment type, wearing surface, needle or post position, and anti-rotation needs.
- Packaging, destination, and required schedule.
- Any licensing, age, labeling, or market documentation requirements.
Before approving the artwork, confirm that the silhouette remains recognizable at 1:1 size, essential text is readable or intentionally removed, thin lines and enclosed spaces have been examined, color cells have clear boundaries, the relief hierarchy is explicit, and the attachment does not obscure the design.
For a corporate logo badge, source files, size, thickness, attachment, color references, and packaging remain confirmation items. Individual bags, backing cards, small gift boxes, and uniform-accessory boxes may suit different distribution or presentation needs. Select packaging according to protection, sorting, and presentation requirements rather than treating one option as universal.
Gairun’s connected service path moves from requirements intake through artwork and engineering review, sample planning when selected, production coordination, packaging, and shipment preparation. Buyer approvals remain distinct control points. The Design and Artwork resources can help organize the file discussion, while the final construction still depends on the accepted specification.
Frequently Asked Questions
What is the best way to simplify a logo for metal manufacturing?
Set the artwork to its final physical size, separate metal structure from decoration, remove low-value detail, and preserve the silhouette, dominant symbol, essential wordmark feature, and core colors. Approve a separate manufacturable version beside the original brand master.
How can small text on an enamel pin remain readable?
Keep only wording that supports recognition, enlarge or shorten it where possible, widen nearby gaps, and inspect it at 1:1 size. If the text remains too fine for enamel cells, ask whether a printed treatment or larger product format is acceptable.
What is a reasonable minimum detail level for metal line artwork?
There is no responsible universal threshold for every product. Final size, material, forming route, relief, finish, neighboring gaps, and decoration determine whether a line or enclosed space can work. Submit the actual geometry for technical assessment.
Should a complex logo use soft enamel, die-cast relief, screen printing, or UV printing?
Use the artwork as the starting point. Clear bordered color cells may suit soft enamel; irregular or dimensional bodies may lead to die-cast consideration; defined printed details may suit screen printing; gradients or multiple tones may lead to UV printing. Each route needs confirmation against the complete construction.
Does approving a 1:1 artwork proof approve the final sample and bulk production?
No. Artwork approval controls the production reference. Sample approval, bulk-production authorization, commercial terms, compliance documents, packaging, and shipment arrangements remain separate decisions.
What information should a buyer include when requesting a quote for a manufacturable logo badge?
Provide the product type, quantity, finished dimensions, thickness preference, artwork versions, color references, finish, attachment, front and reverse instructions, packaging, destination, and schedule. Mark unresolved choices for engineering confirmation.